

Adding a new property in Qobrix CRM
In this How-to-guide, you will learn how to add a new property in Qobrix Real Estate CRM.
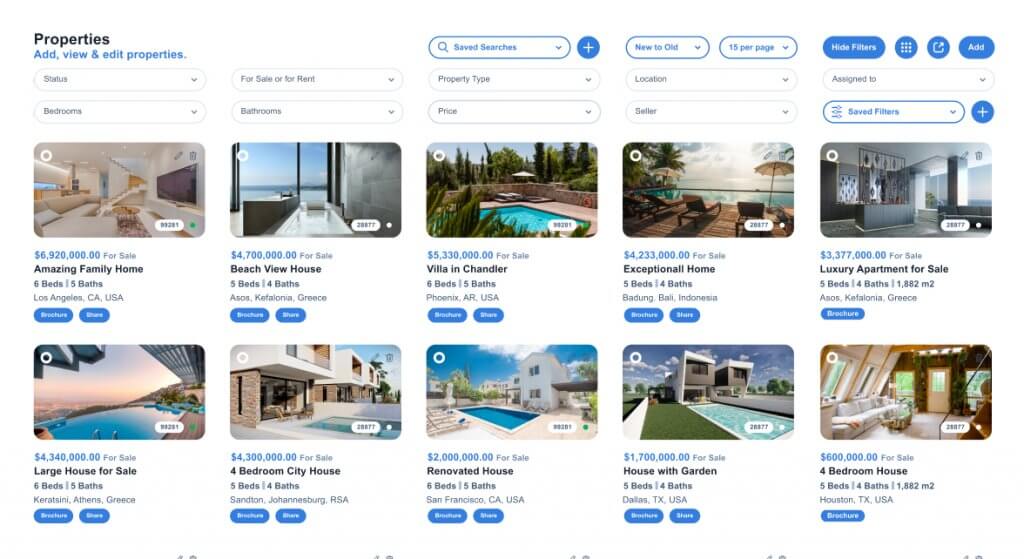
Step 1: Navigate to the Properties module.
Click the blue “Add” button at the top right corner of your screen.

Step 2: Fill in the property information.
Upload a featured photo stored on our device, and set the property’s details (property type, price, status, etc.) using the drop-down list available in each field.


Upload documents or media stored on your device, using the “+” button in the relevant fields.

Set the location of the property using the Open Street Map tool. Type the city and the country you want to navigate.

Drag and drop the pin to the right location and the rest of the information will be filled automatically.

Click the “Save” button at the top right corner and repeat the process to add more properties in your CRM.