

Creating a dashboard in Qobrix CRM
Qobrix makes creating dashboards to suit your particular business needs very quick and easy.
Step 1: Add new dashboard
Begin by navigating to the left-hand side of your Qobrix screen and click on Dashboard.
Then click on Add Dashboard.

A pop-up screen will appear into which you will insert the name of your Dashboard and the group in which you want the Dashboard to appear. Then click Submit.
A new Dashboard screen will open.
Step 2: Add widget
Now navigate to the right-hand side of your screen and click on Add Widget.

A pop-up screen will appear where you must choose the type of dashboard you wish to create.

If it is a list of items you require to see in one dashboard, you will need to select from the following two drop-down lists:
- a Saved Search (this is the data you want to see displayed on the dashboard)
- the size of your widget (50% or 100% width)

For numerical data (numbers/percentages), a third drop-down list will appear for you to select:
- the type of widget (this is how the dashboard will display, for e.g. table, bar chart, pie chart, line chart or funnel chart


Then click Submit.
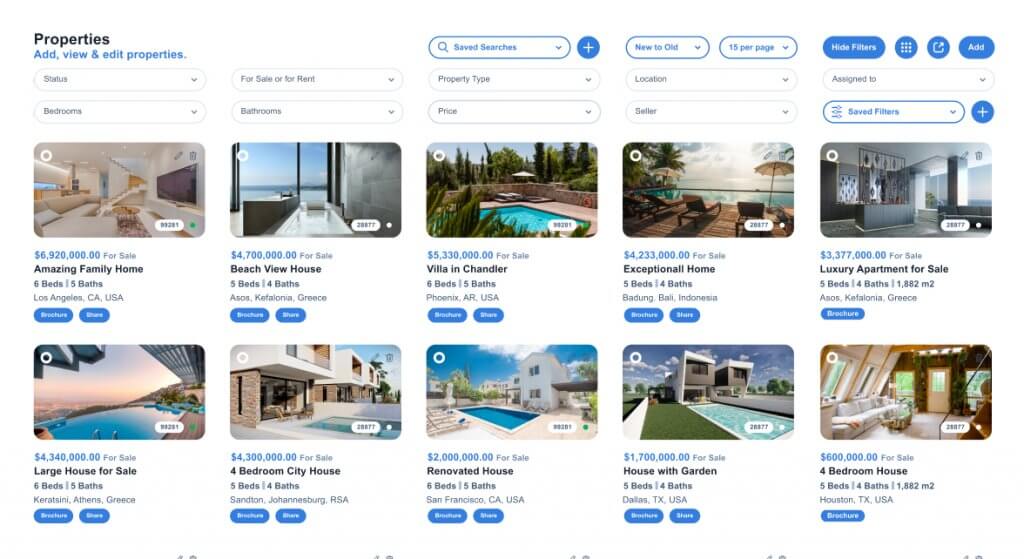
Your new Dashboard will now appear on your screen with all the insights you need.
