Get started with Qobrix on Zapier
This guide intends to walk you through the process of integrating Qobrix with Facebook Leads Ads through Zapier.
Step 1. Qobrix Zap invite
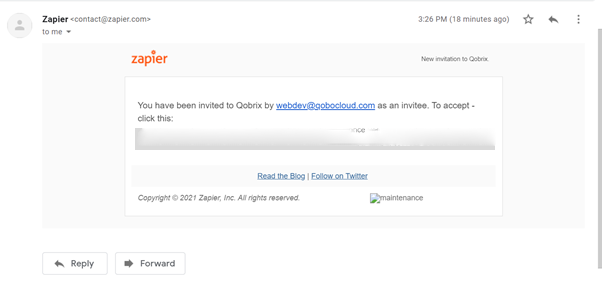
Qobrix is an invite only Zap.
The intended user needs to provide a valid Zapier account e-mail address.
Once an invitation is received, the user will need to accept the invitation through the e-mail link to complete the invite process.
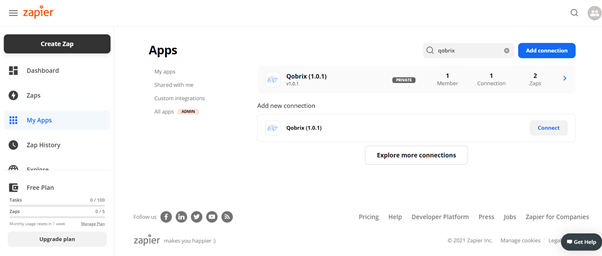
Step 2: Searching for Qobrix
Once Step 1 is complete, the Qobrix Zap is available for selection when creating a new Zap.
Step 3: Creating a new Zap
Create a new Zap by pressing the “Create Zap” button and choose to create a custom zap. Press the “Open Editor” button.
3.1 Name the new Zap (e.g., Facebook – Qobrix)
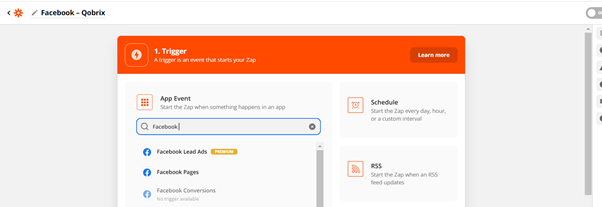
3.2 Select the trigger application.
For the example we select “Facebook Leads Ads”
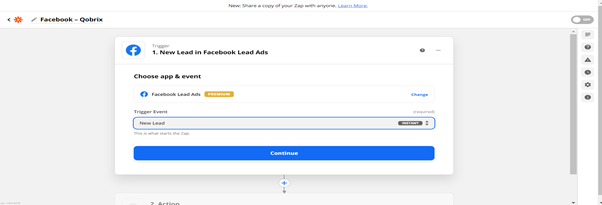
3.3 Select the trigger event from the drop down list e.g. New lead and click “Continue”.
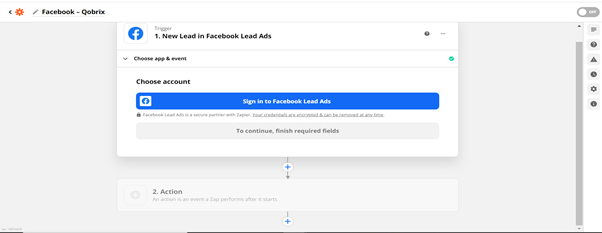
You will be asked to sign in to Facebook Lead Ads. Follow the steps in the popup from Facebook to connect your Facebook page to Zapier.
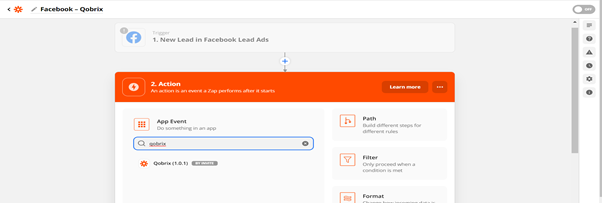
3.4 In Step 2, select the “action” that will take place once Step 1 is triggered
3.4.1 Press action
3.4.2 Search and Select Qobrix
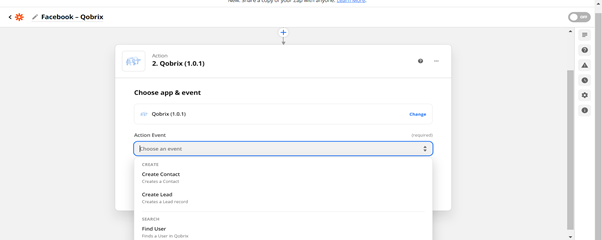
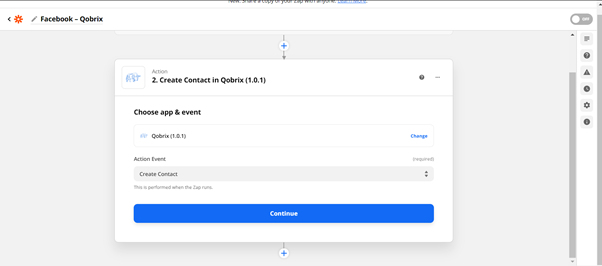
3.4.3 Select Action event and press “Continue”
Note: A “Contact” needs to be created before a lead with Qobrix so you can Create a contact as the first action.
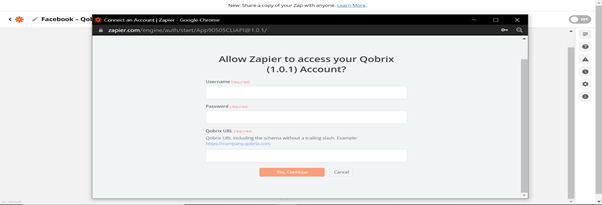
3.4.4 Before setting up the action you need to setup your Qobrix credentials for Zapier
3.4.4.1 Press Continue to enter your Qobrix credentials
3.4.4.2 Enter a valid Qobrix Username/password/site URL
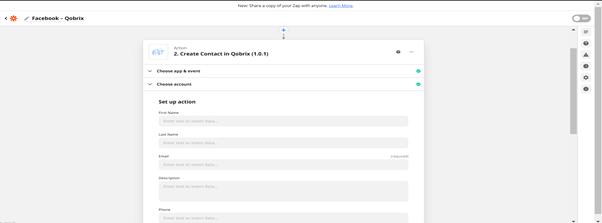
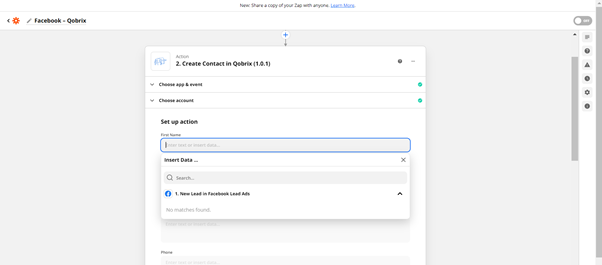
3.4.5 Once connected to Qobrix, set up the actions steps
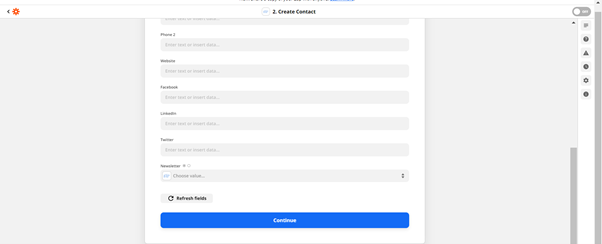
Each action step will be mapped to an action from previous triggers or set manually.
Once all action mapping is complete press continue
3.5 Select the “action” that will take place once Step 2 is triggered
3.5.1 Press action and search for Qobrix
3.5.2 Select Action event
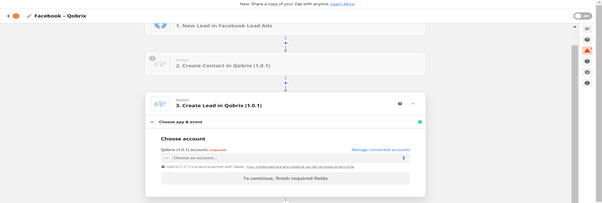
Select “Create Lead” and continue
3.5.3 Select the Qobrix account to be used (similarly to steps 3.4.5) and continue
3.5.4 Select action for “Creating lead”
3.5.4.1 Select the contact mapping
3.5.4.2 Complete all the required action fields mapping form Facebook or Qobrix apps and press Continue
Once set, the process can be tested.

