How to creat Automated emails for Campaigns in Qobrix
Learn how to configure a campaign, add automation emails, and set up the required options for Matching Properties and Price Drop alerts in Qobrix CRM. This guide walks you through campaign creation, email subject setup, template selection, brand assignment, frequency settings, and activation of automated email workflows.
1
Navigate to your CRM dashboard.

2
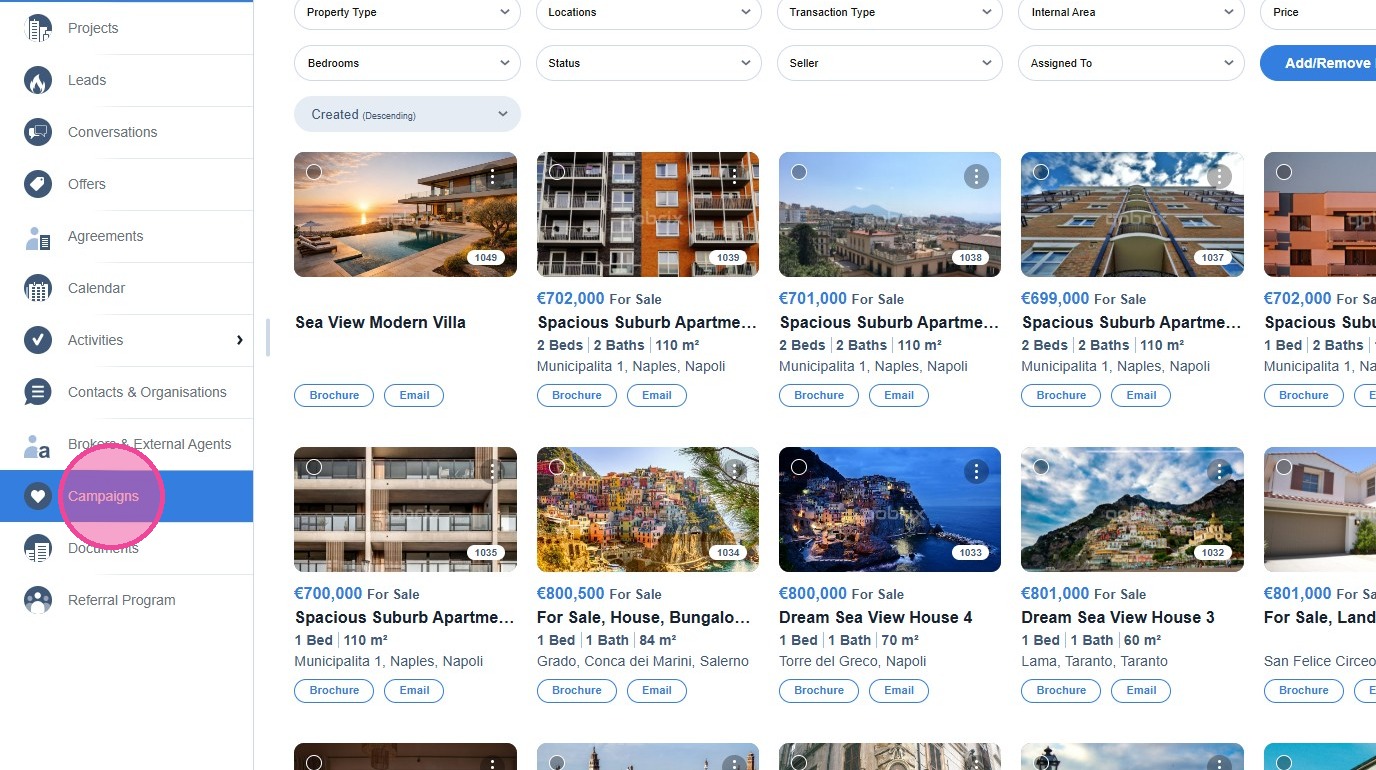
Click "Campaigns".
3
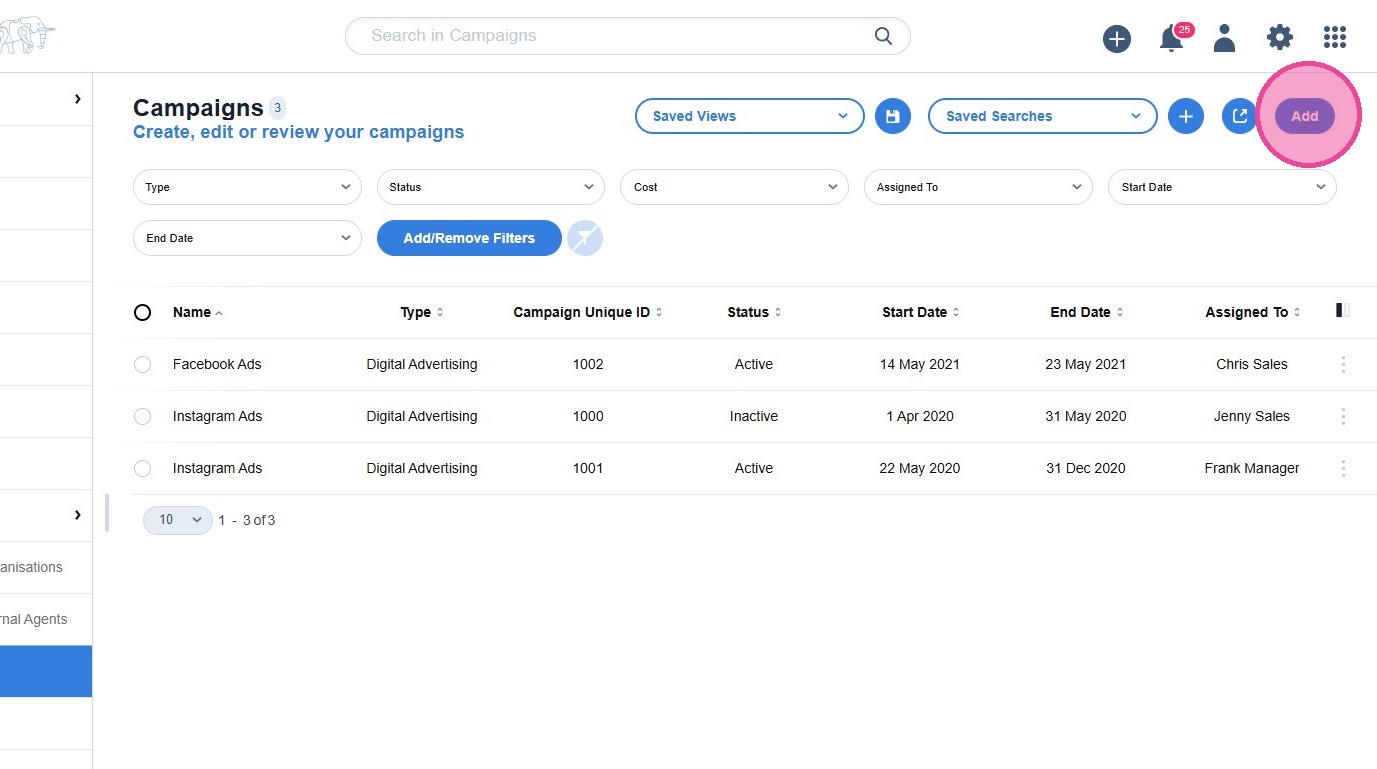
Click "Add".
4
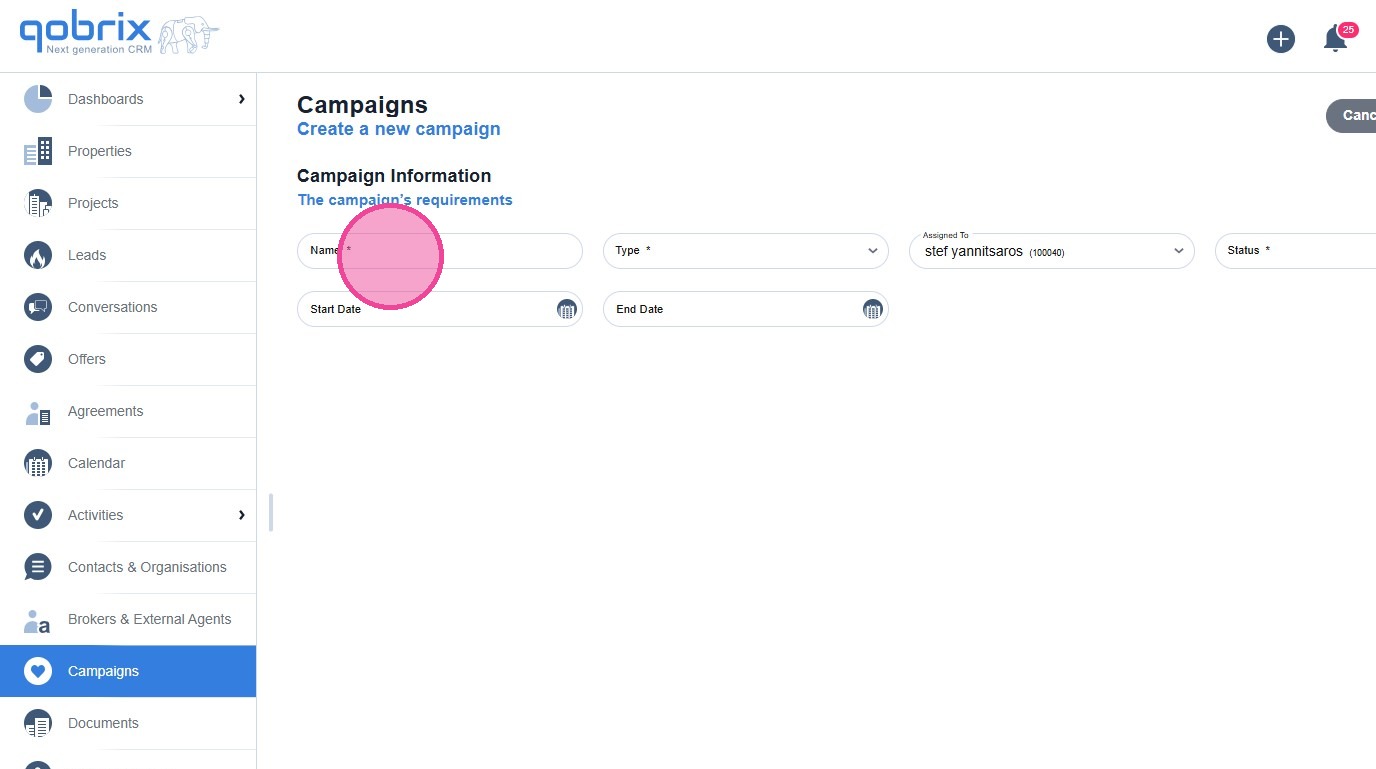
Type the name of your campaign.
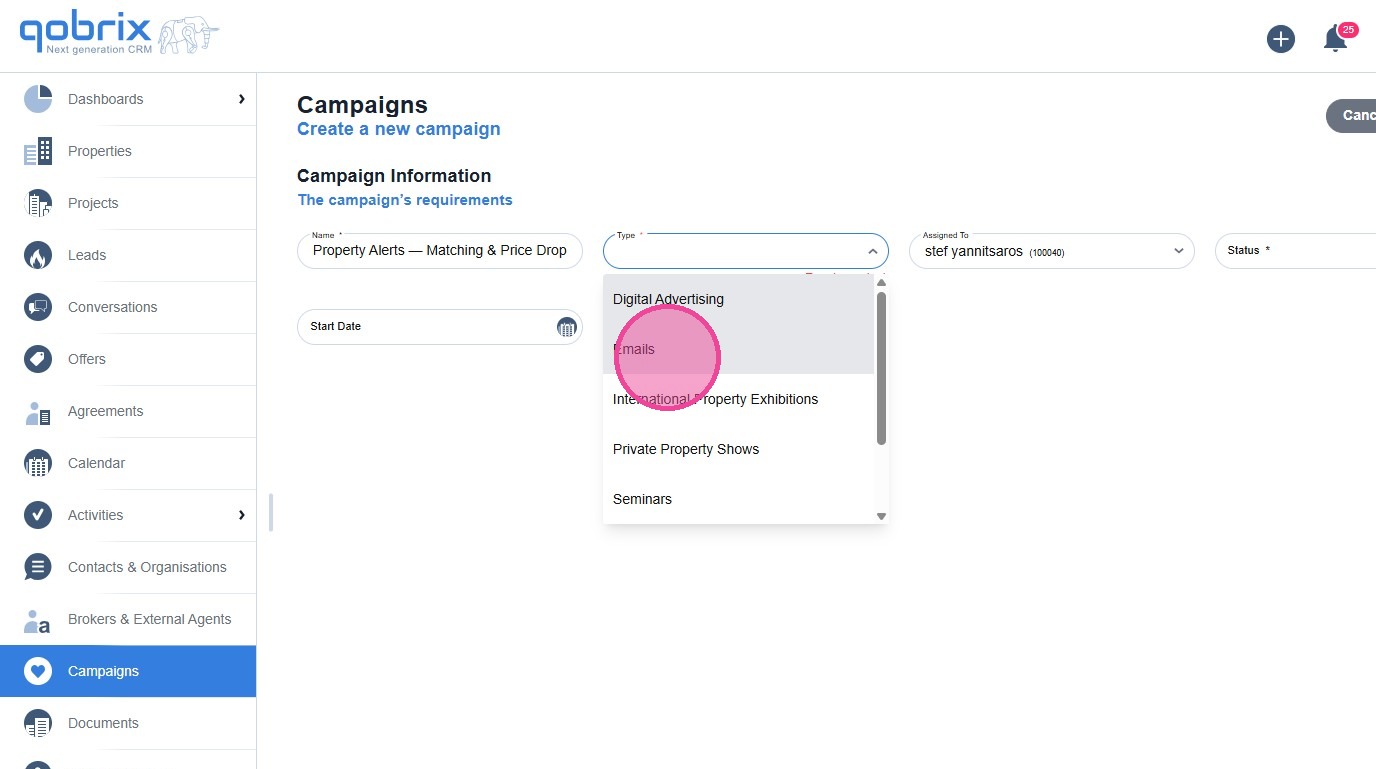
5
Select "Emails" from the Type dropdown.
- Please note that you must select Emails in order for the automated emails to be included in your campaign.
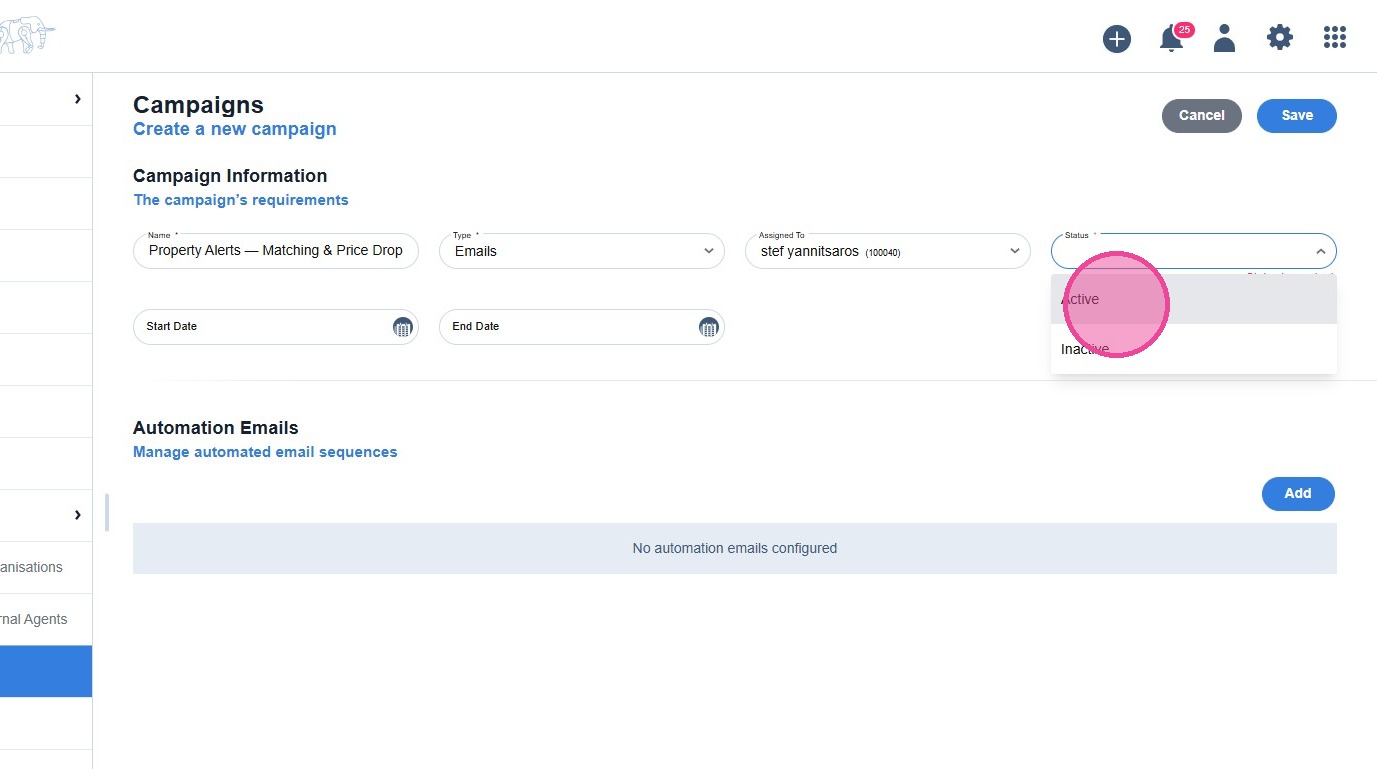
6
Set the Status to "Active".
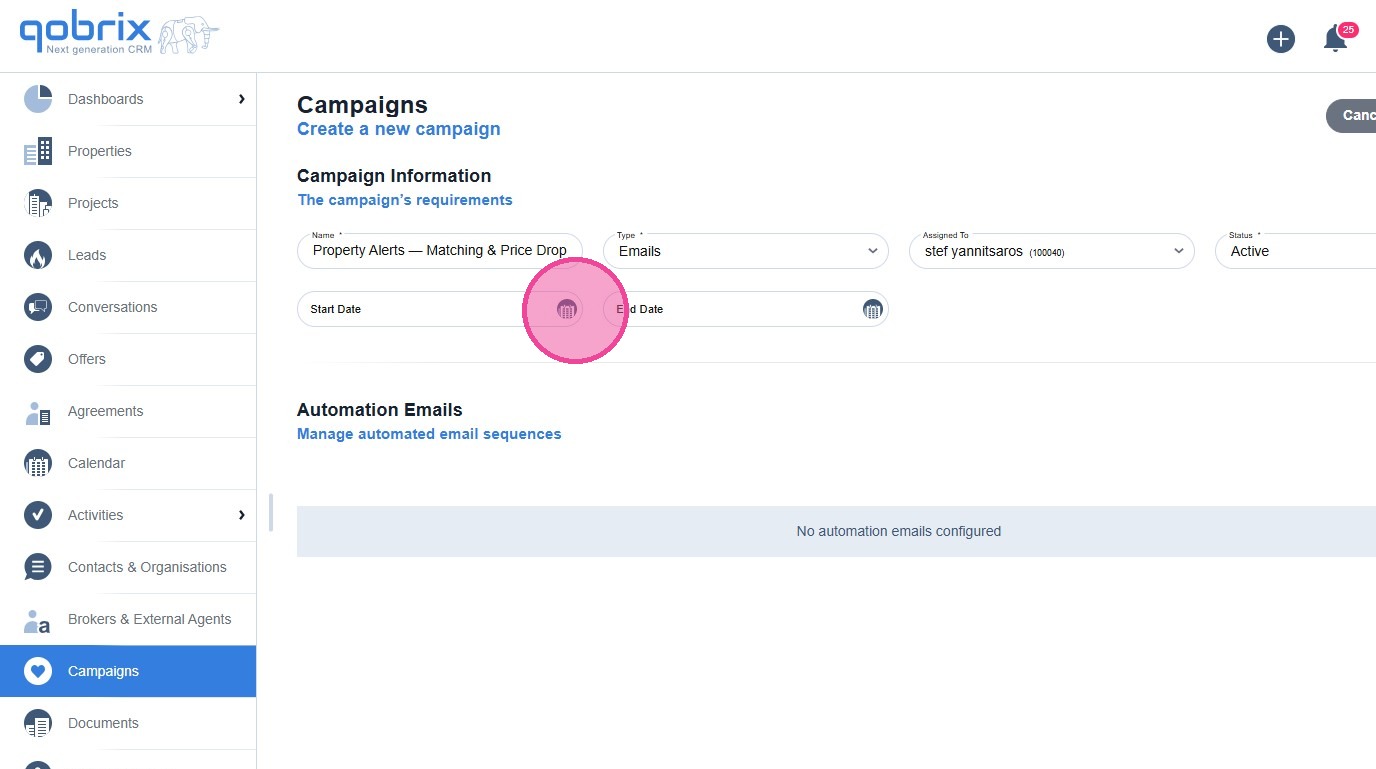
7
Select the "Start Date".
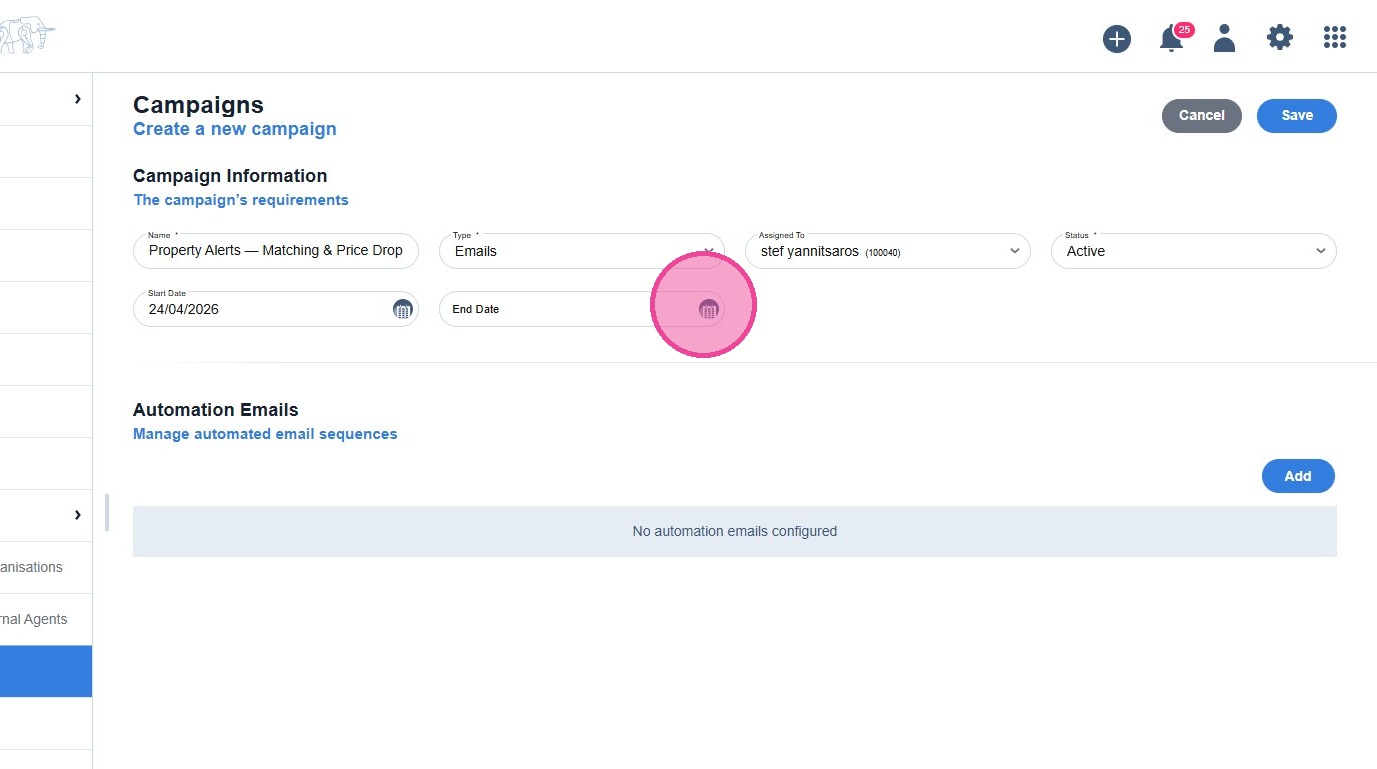
8
Select the "End Date".
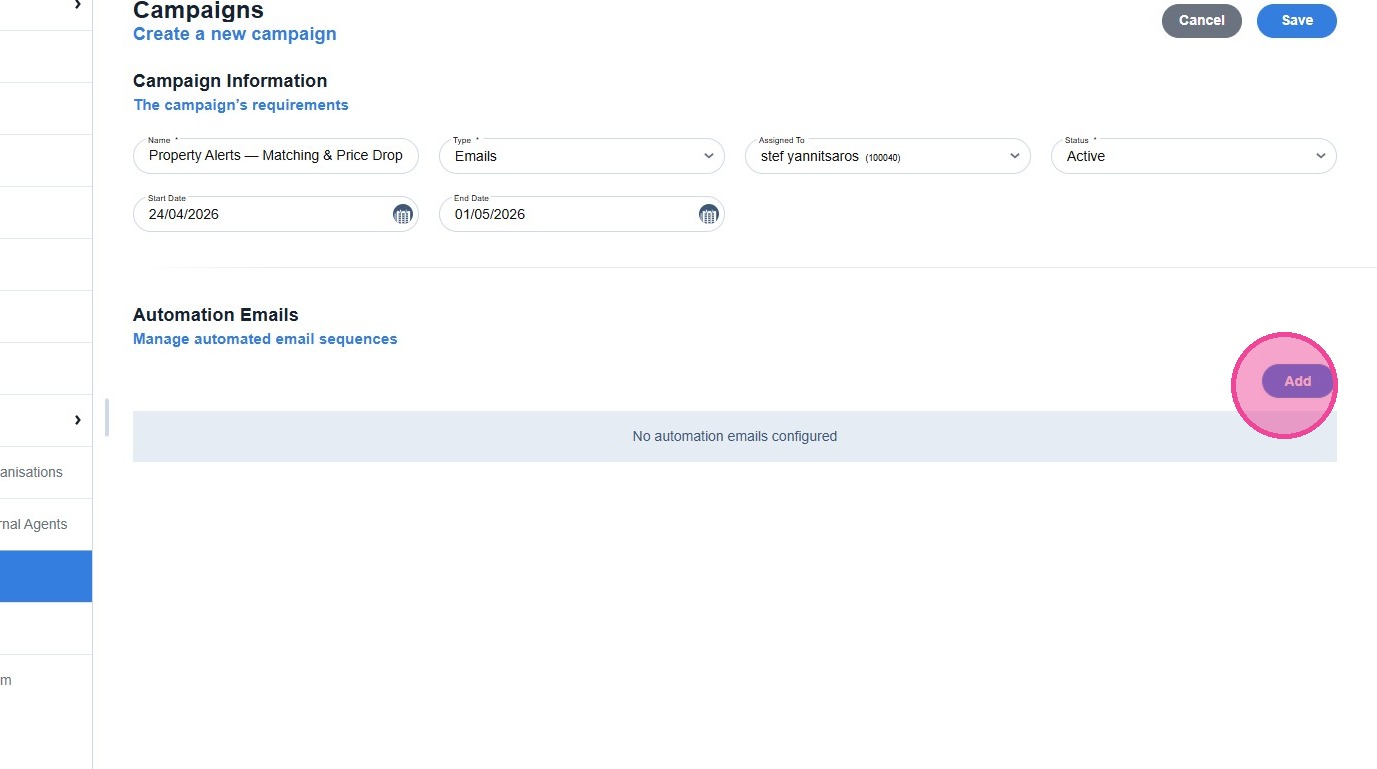
9
Click "Add" in the Automation Emails section.
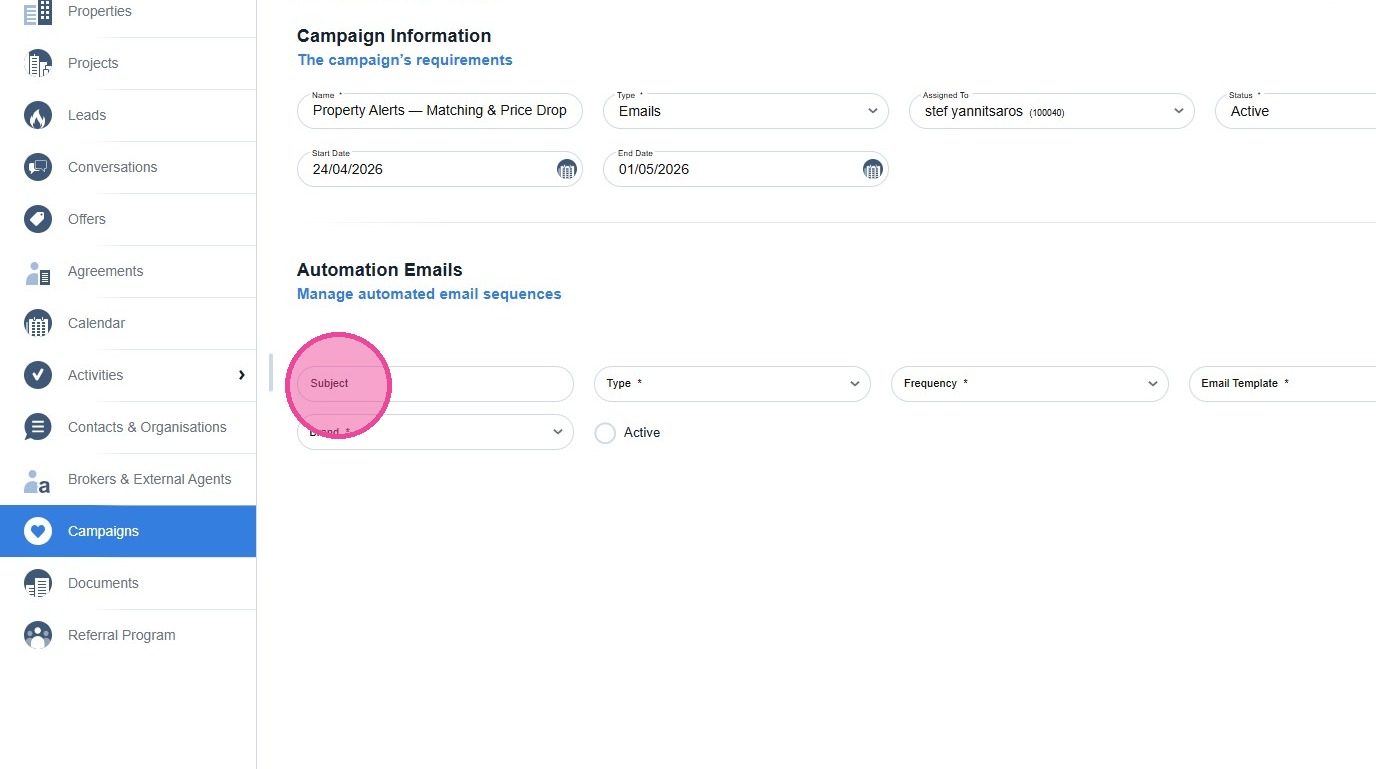
10
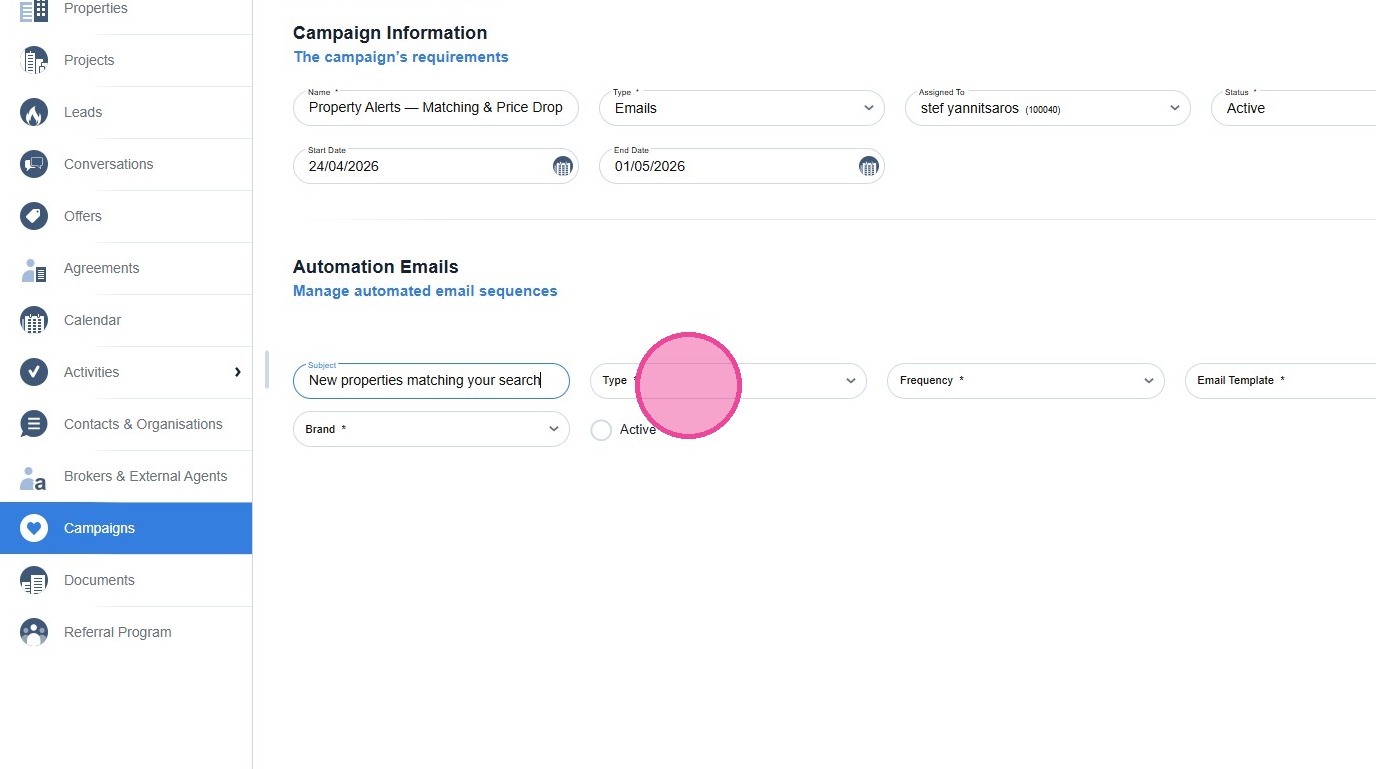
Add your "Subject".
- The email subject is what leads will see in their inbox. Keep it clear and relevant, for example: "New properties matching your search" or "Price reduced on a property you viewed".
11
Click on "Type".
- Matching Properties — for newly listed properties that match lead criteria.
- Price Drop — for price reductions on properties the lead has expressed interest in.
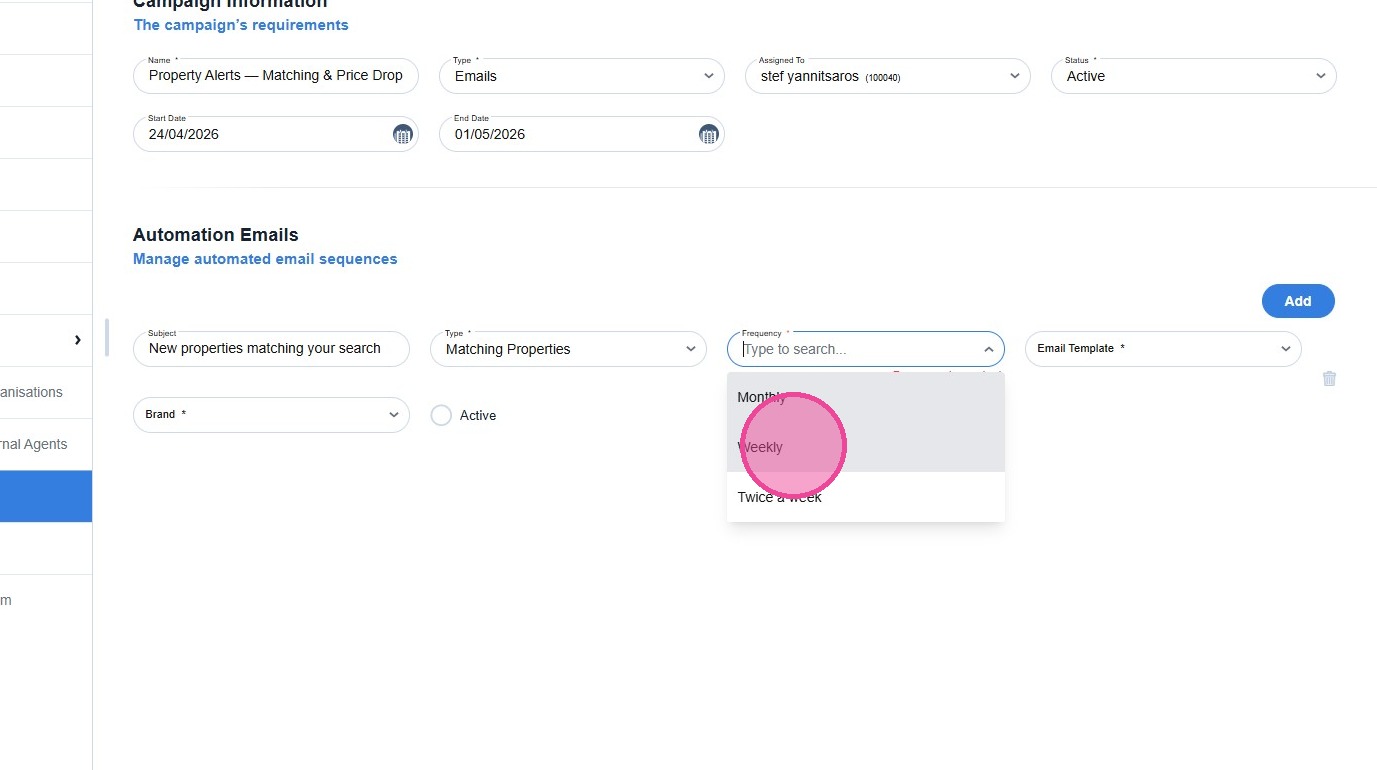
12
Click on "Frequency".
- Choose how often the automation should check and send emails, for example Monthly, Weekly, or Twice a week.
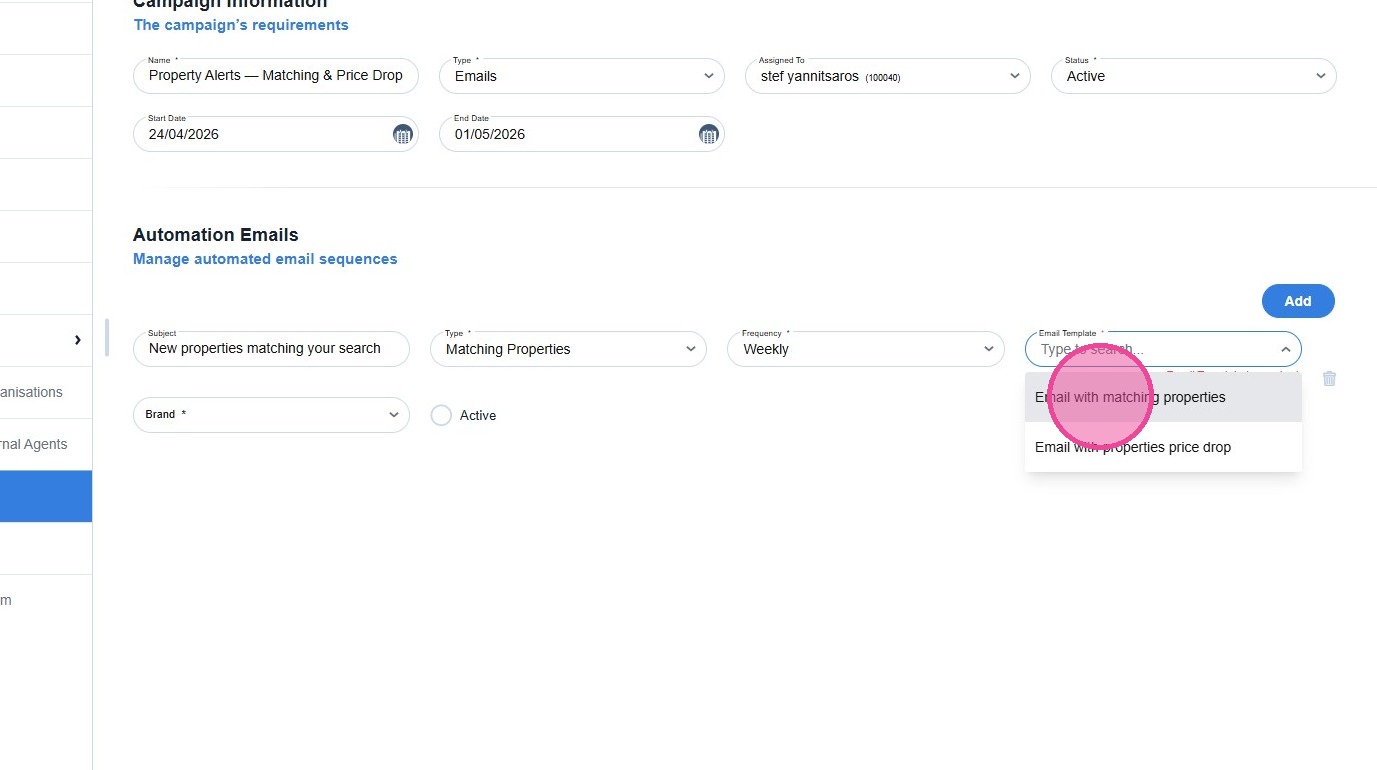
13
Select "Email with matching properties" or "Email with properties price drop" from the Email Template dropdown.
- Select the pre-designed email template to use for this automation.
- Ensure the template is already created in the Templates module.
14
Select your company Brand that has been created in the CRM.
- This applies your agency's logo, colors and contact details to the email.
- Haven't set up a Brand yet? This is a required step before proceeding. Please refer to the "How to Create a Brand in Qobrix CRM" guide to get started.

15
Set status to Active to enable the automation.
- Emails will not be sent until this is set to Active.

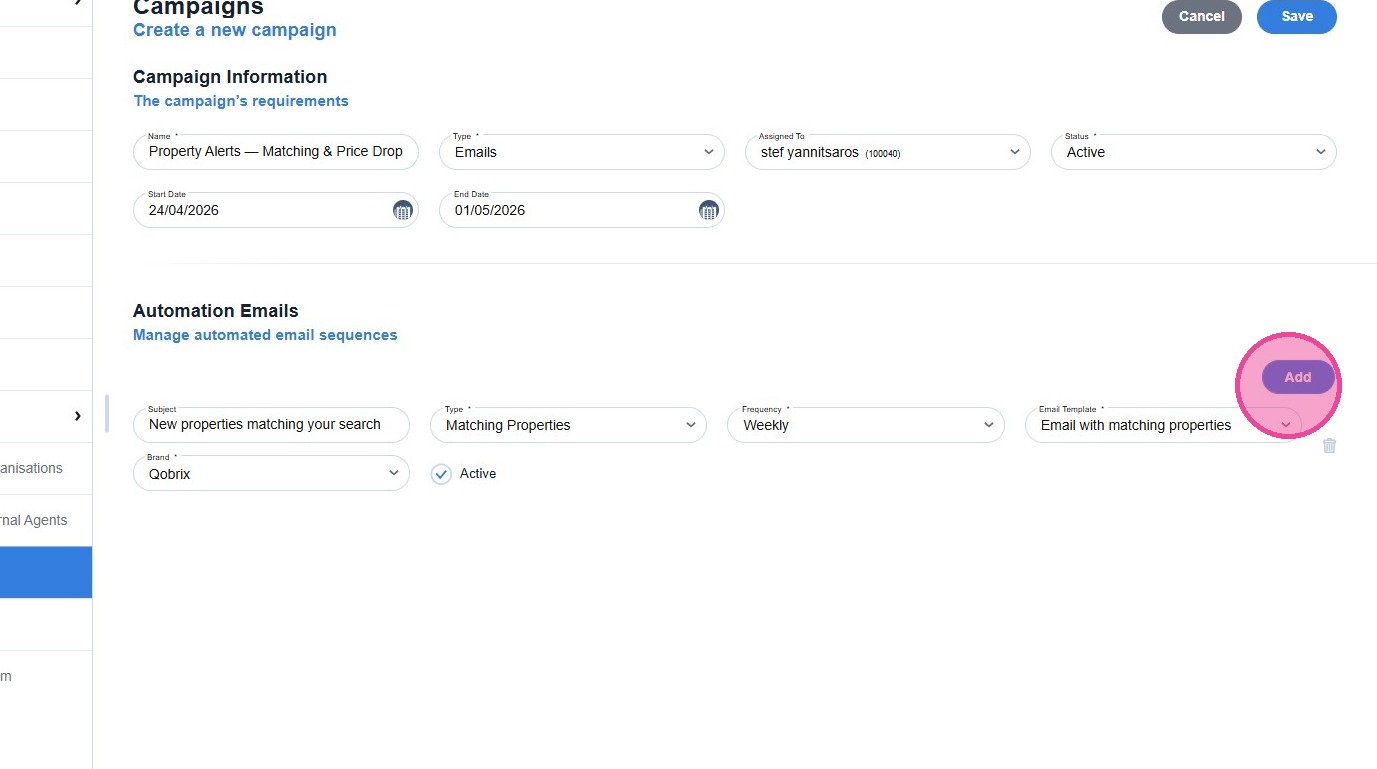
16
Click "Add" if you want to create two automations.
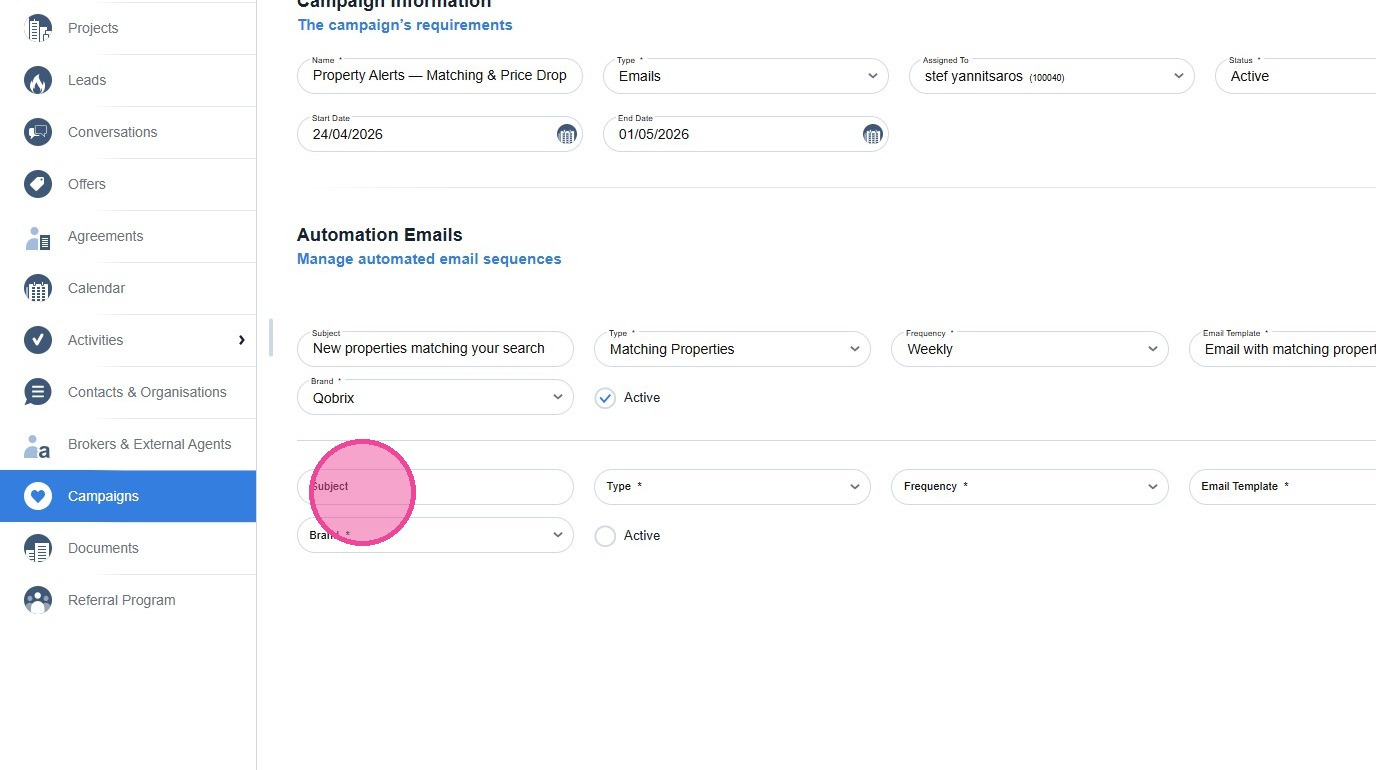
17
If you'd like to add a second automation email to your campaign, a new panel will appear where you can repeat the same process.
- This is completely optional.
- Tip: Create two separate automation emails within the same campaign — one with Type set to Matching Properties and one set to Price Drop — so that both notification types are handled within a single campaign.
18
Click "Save".
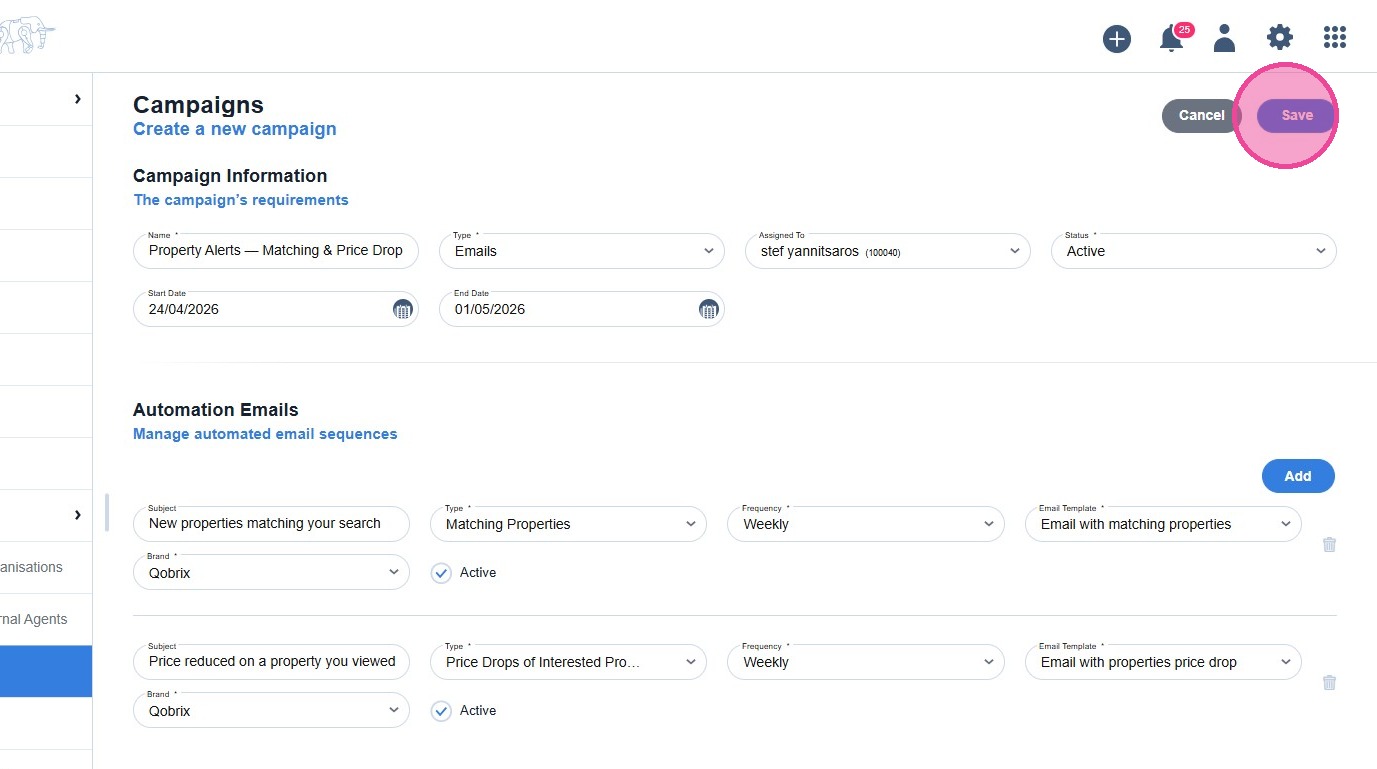
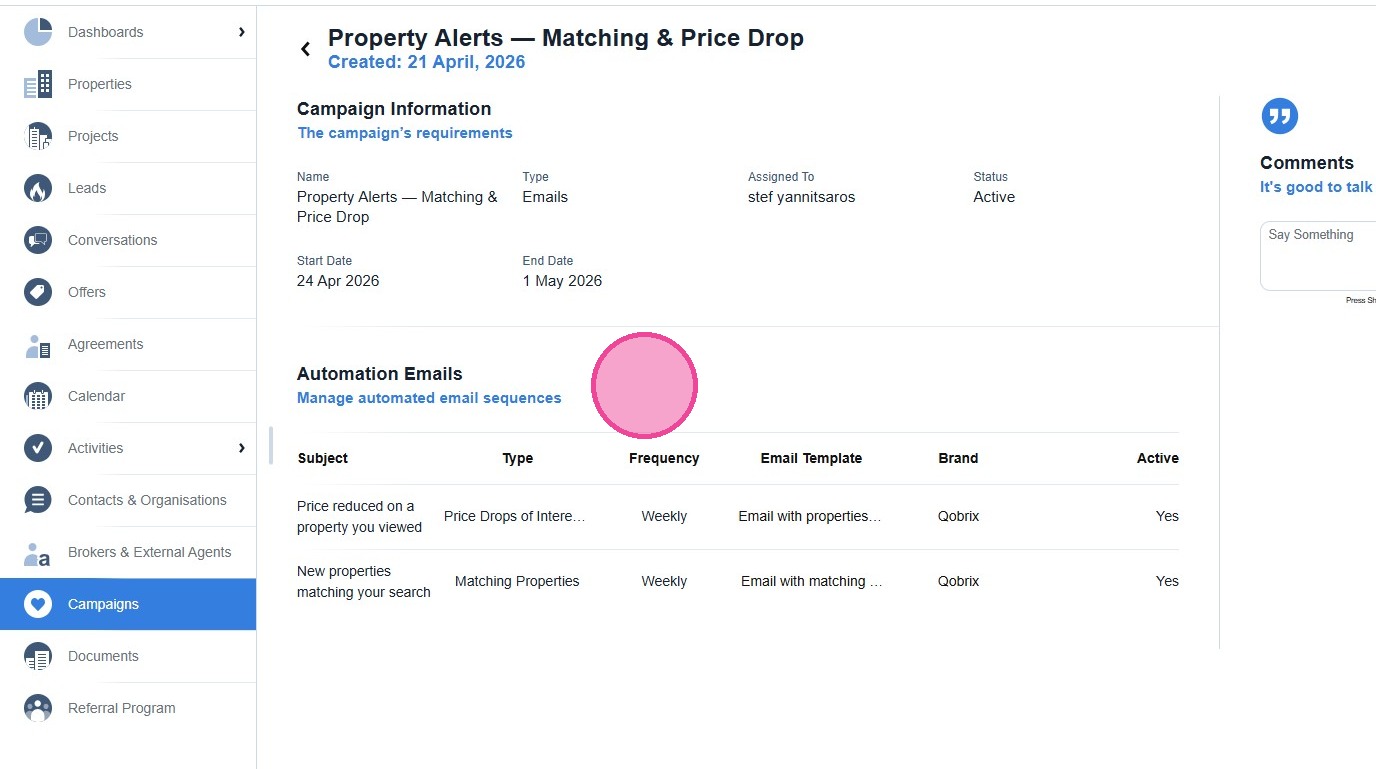
19
Here is an example of how a complete campaign with automated emails would look.
- Tip: To enable email notifications on individual leads and include them in automated campaigns, see the "How to Enable Email Alert Consent on Lead Records" guide.