Photos Uploading & Reordering
Learn how to upload and manage property photos in your CRM. Add a featured cover photo, upload multiple property images, modify your photo selection, and reorder photos to showcase your properties perfectly.
1
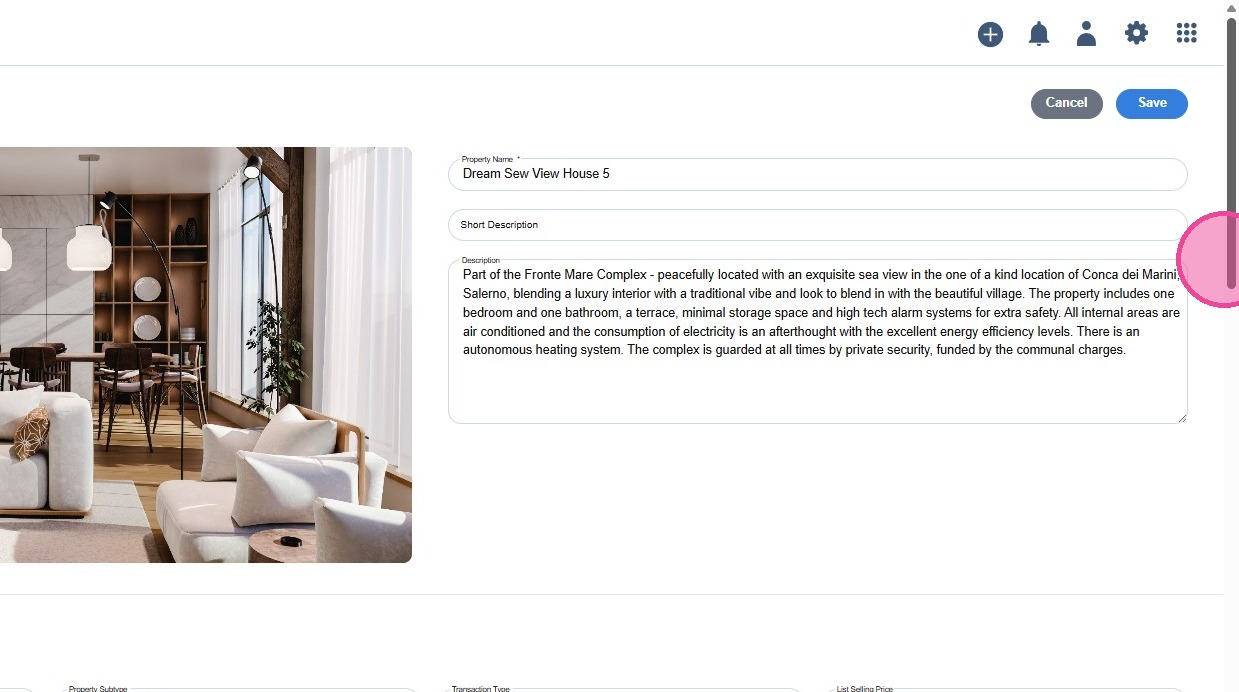
The CRM allows you to add photos for your property:
- You can upload a [Featured Photo] which will be the cover photo of your property.
- You can upload more [Photos] for your property.
2
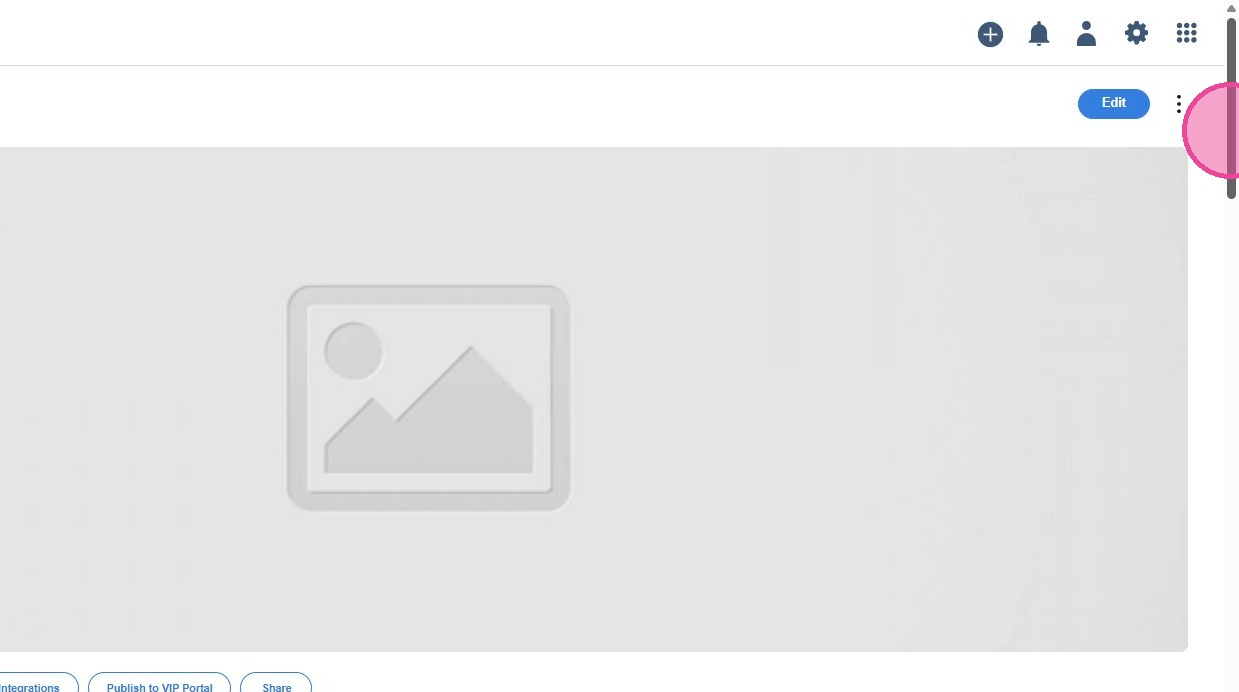
While you are creating/editing your property, you can use the shortcut to upload your [Featured Photo].
3
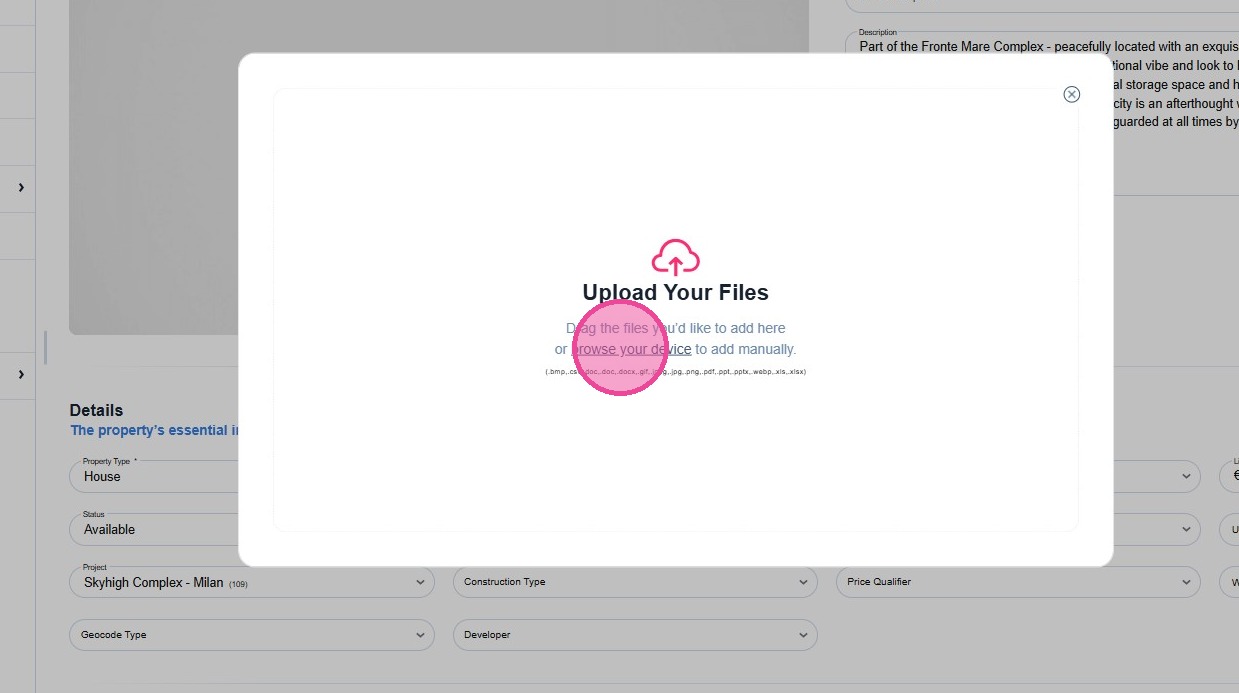
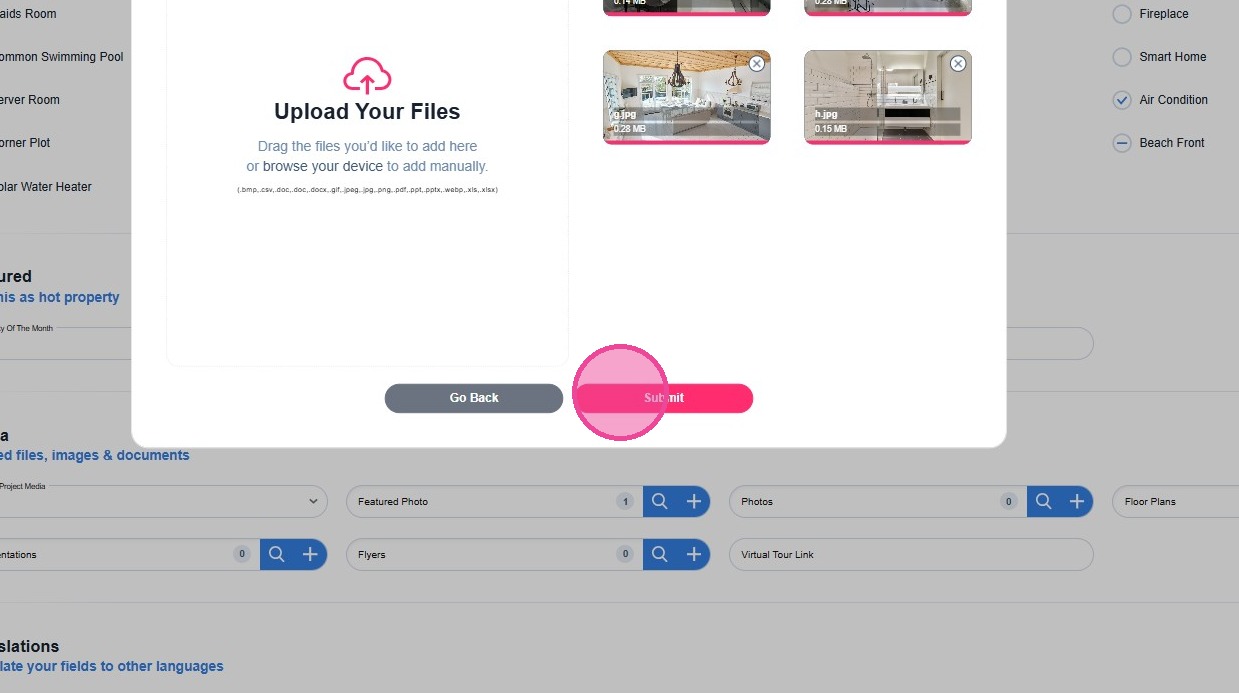
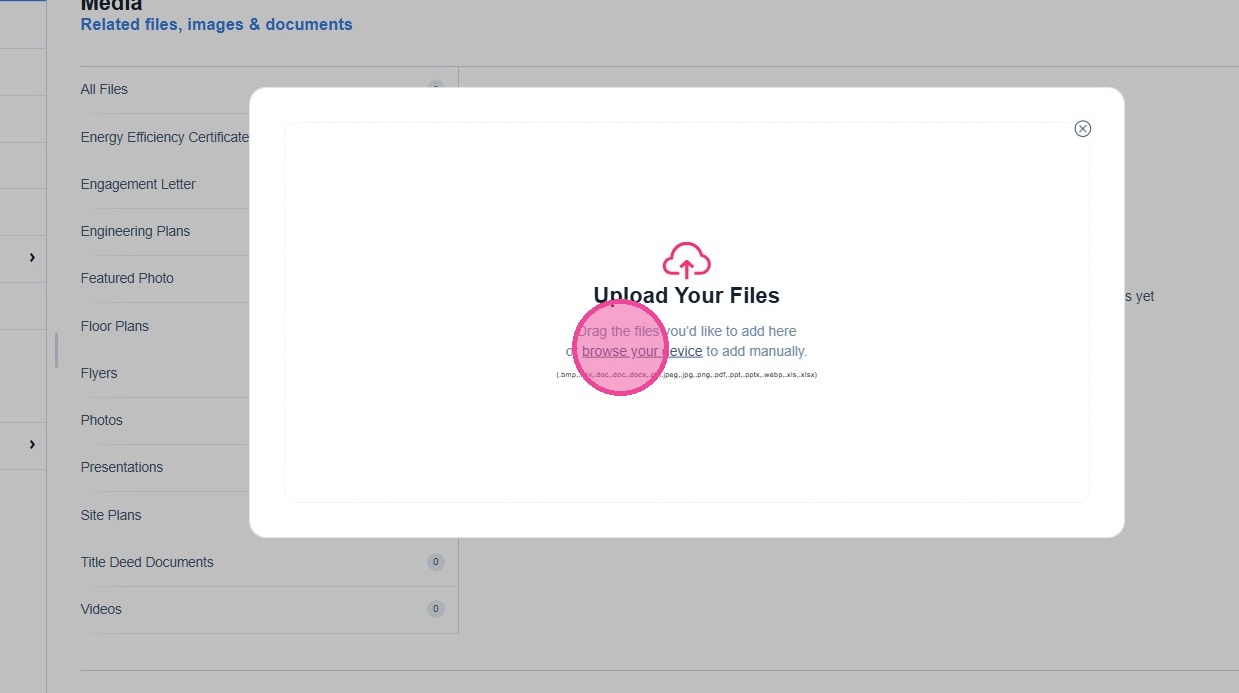
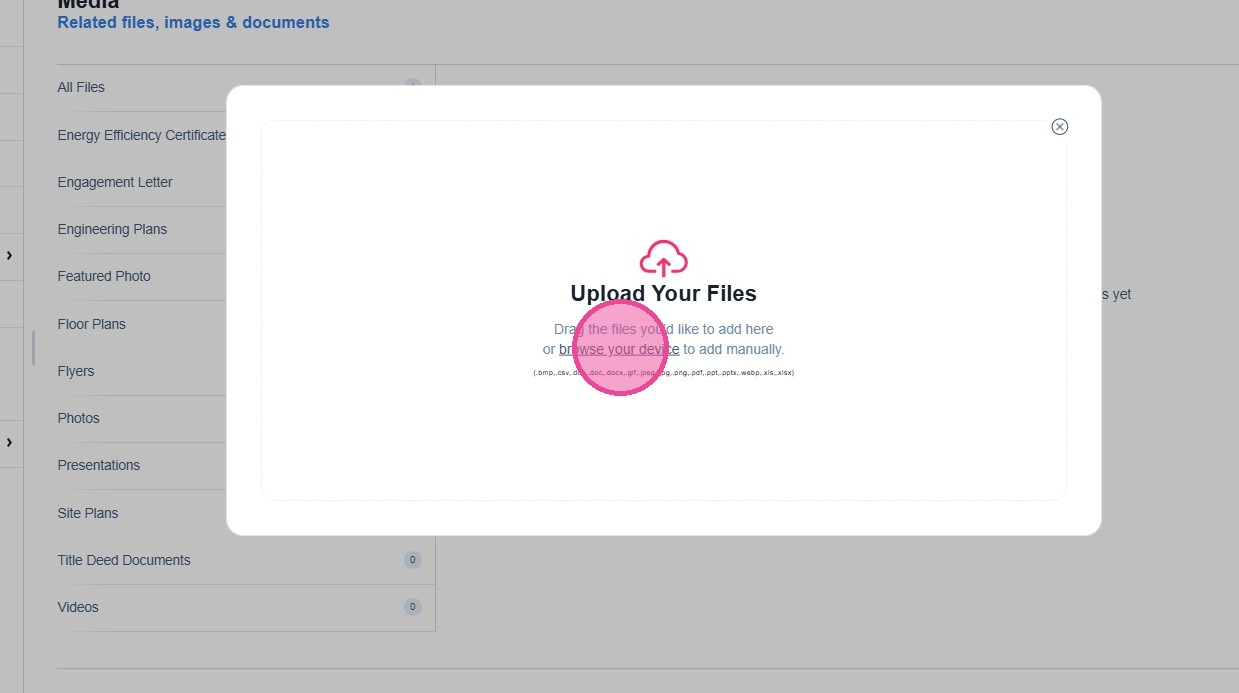
Click on [browse your device] to search for the desired featured photo.
These are the photos supported formats (.bmp,.csv,.doc,.doc,.docx,.gif,.jpeg,.jpg,.png,.pdf,.ppt,.pptx,.we..."
These are the photos supported formats (.bmp,.csv,.doc,.doc,.docx,.gif,.jpeg,.jpg,.png,.pdf,.ppt,.pptx,.we..."
4
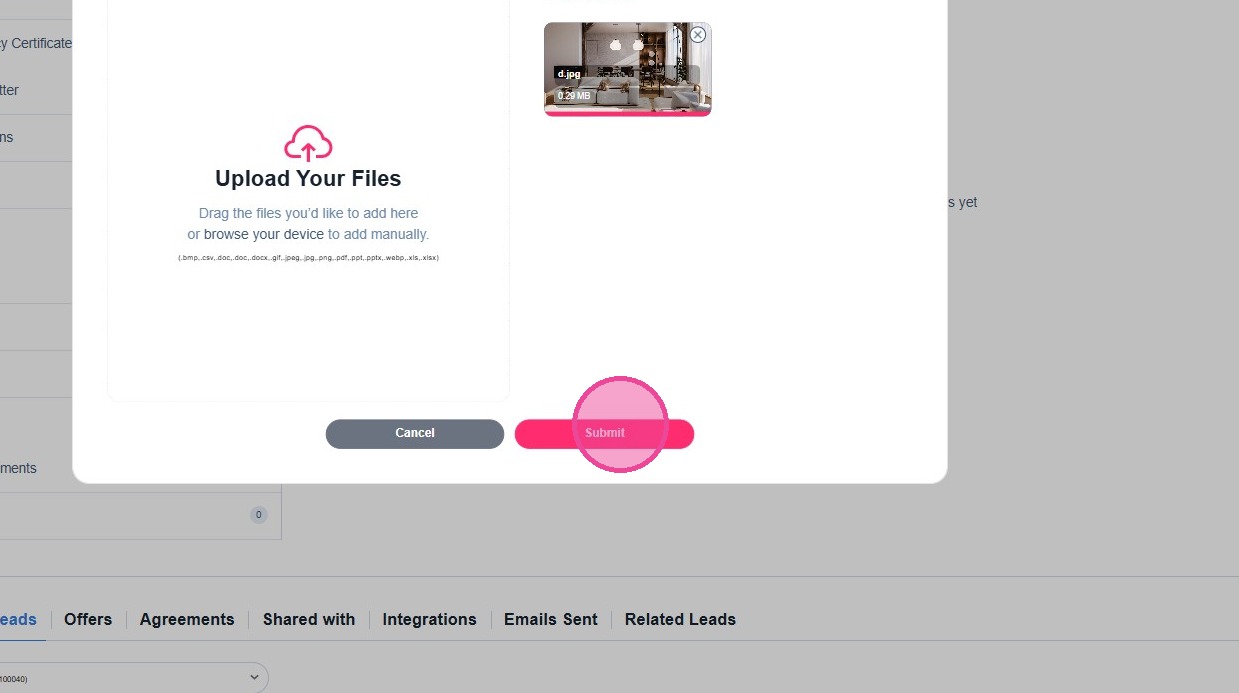
Select your Featured photo and click [Submit].
5
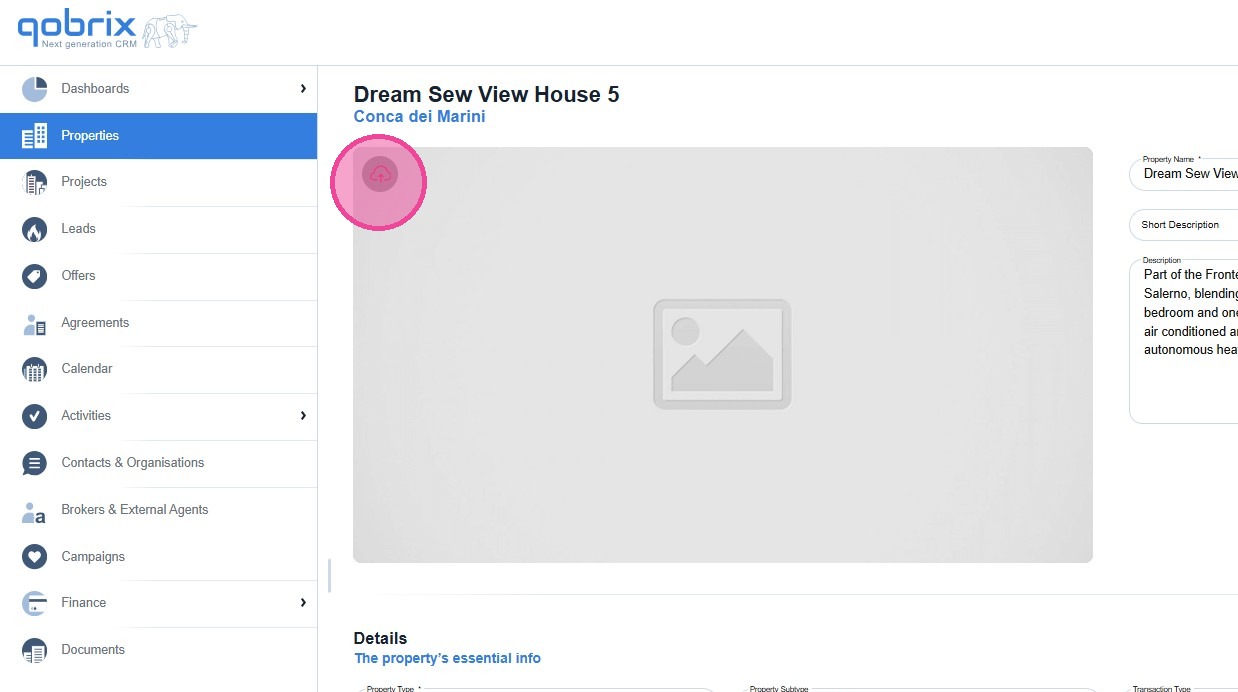
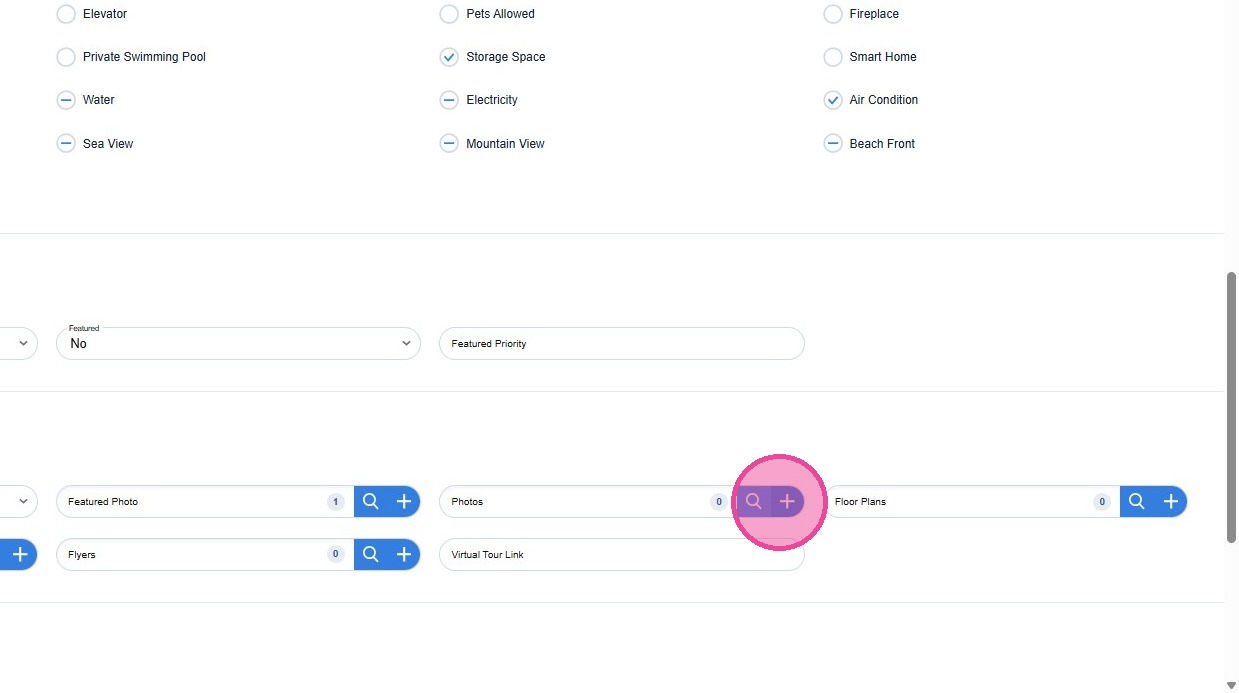
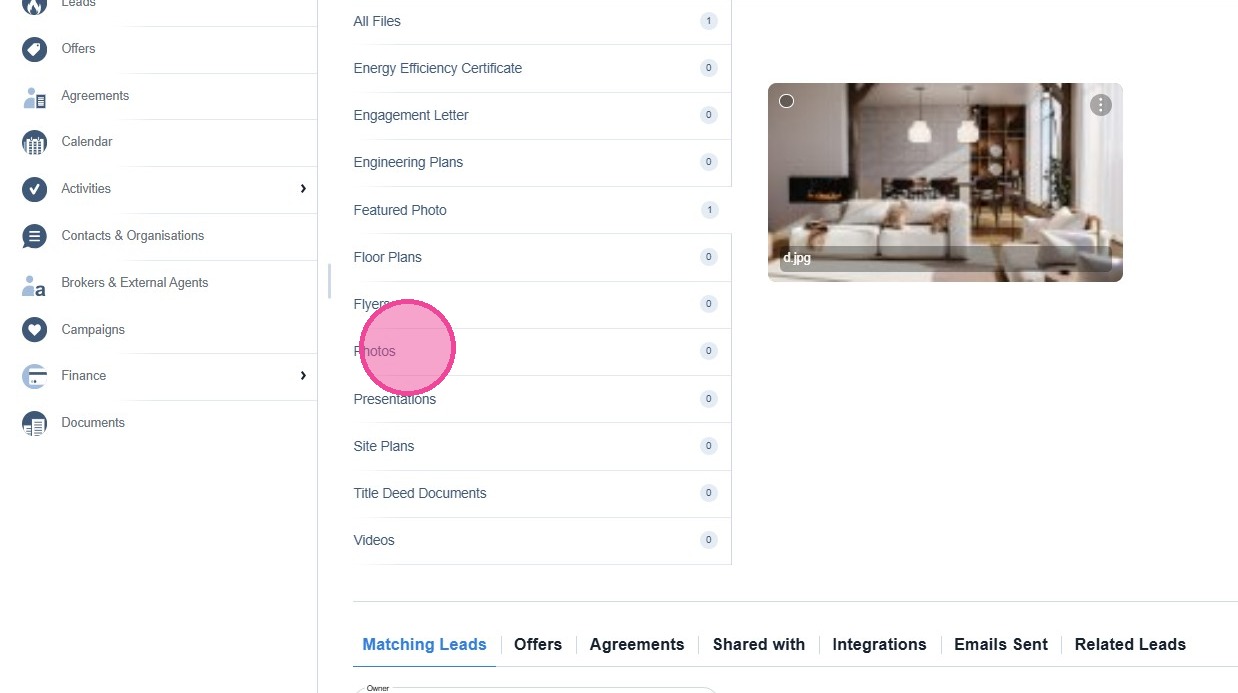
To add more photos for your properties, please move to the bottom of the property page.
6
Access the Photos section and click on "+" button.
7
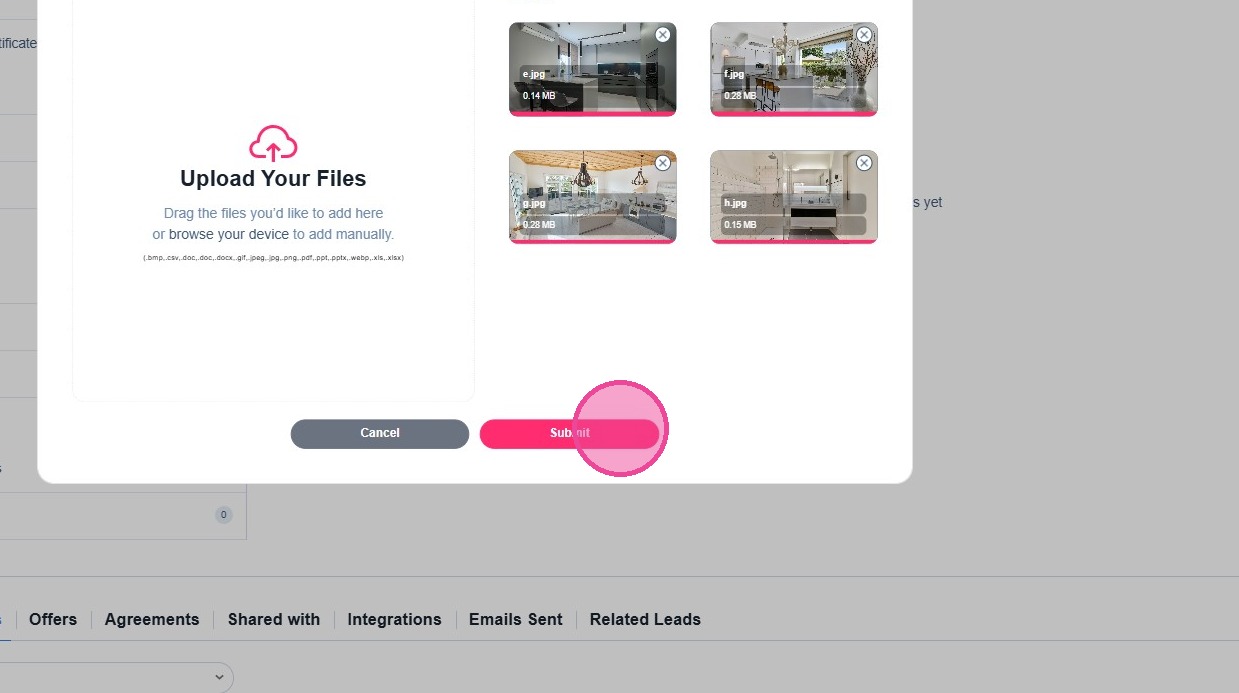
Click on [browse your device] to search for the desired photos. These are the photos supported formats (.bmp,.csv,.doc,.doc,.docx,.gif,.jpeg,.jpg,.png,.pdf,.ppt,.pptx,.we..."

8
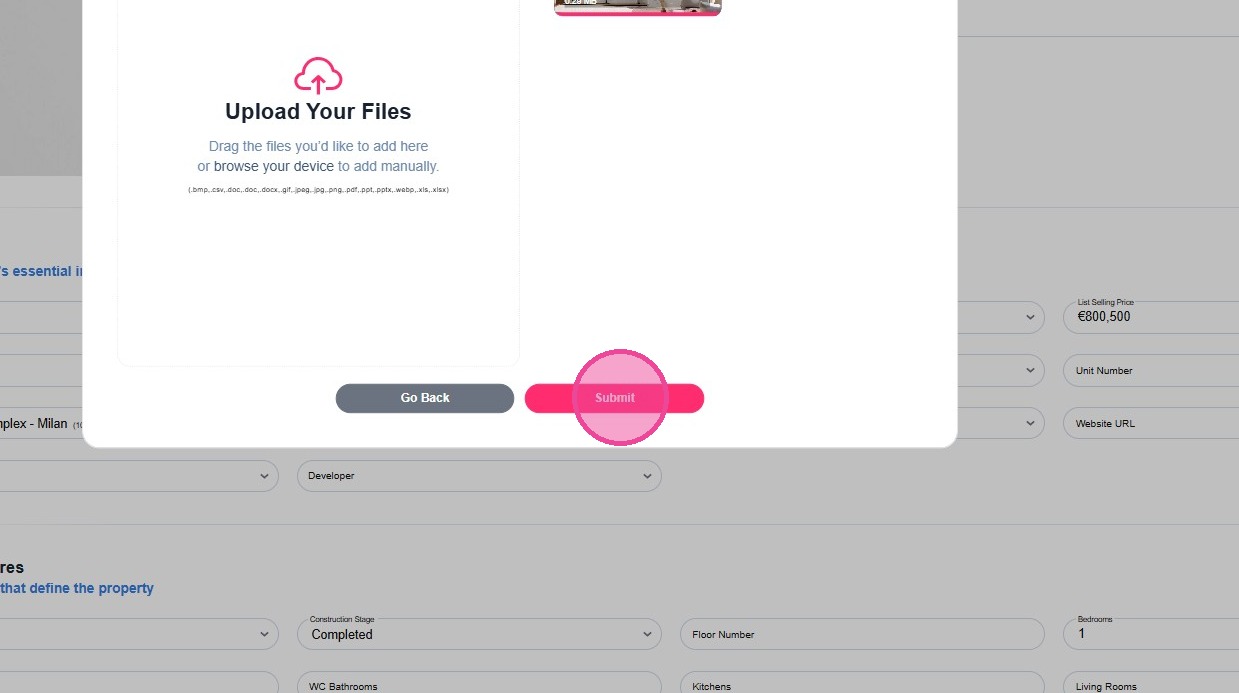
After selecting the photos, please click [Submit] to confirm your selection.
9
When you finish uploading the preferred photos, move to the top and click [Save].
10
There is an alternative way for uploading photos or modifying your selection.
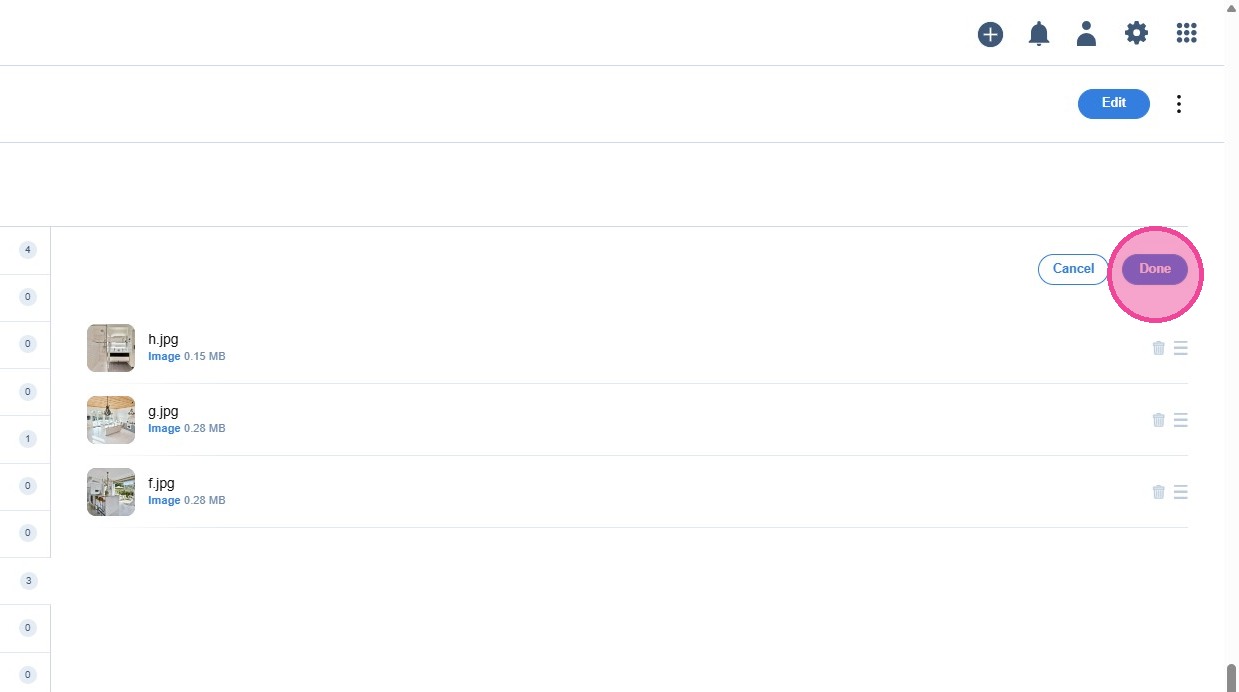
This way refers to an already saved property.
This way refers to an already saved property.
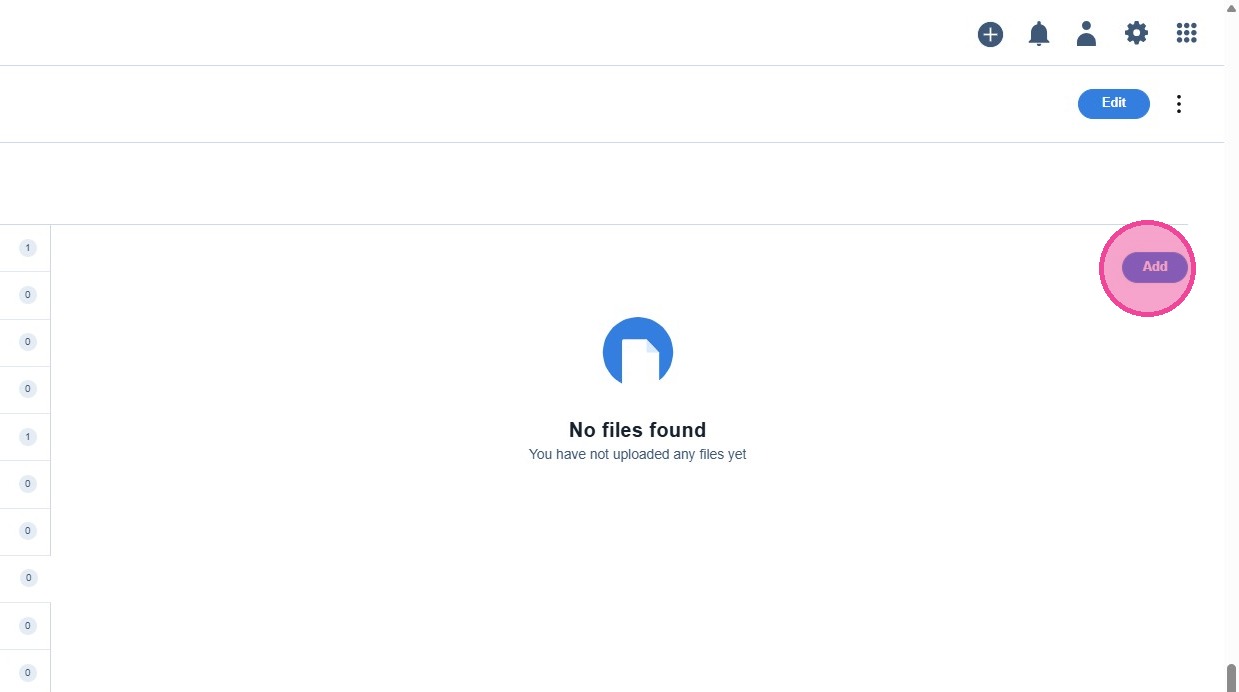
11
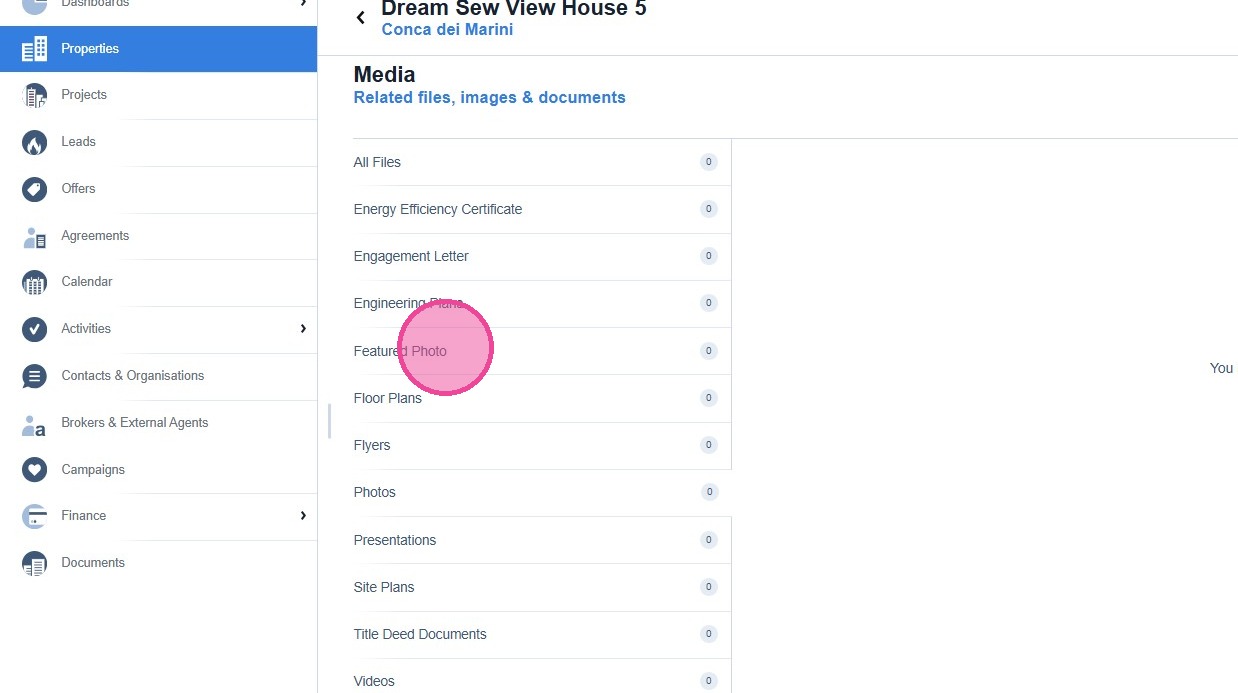
Access the property and move to the Media panel at the bottom of the property page.
12
Please click on "Featured Photo" category, to select the cover photo of your property.
13
Click "Add"

14
Click on [browse your device] to search for the desired Featured Photo.
15
Select your Featured photo and click [Submit].
16
To add more photos for your properties, please click on Photos category.
17
Click "Add"
18
Click on [browse your device] to search for the additional photos.
19
Select your Photos and click [Submit].
20
The photos of the properties can also be modified.
21
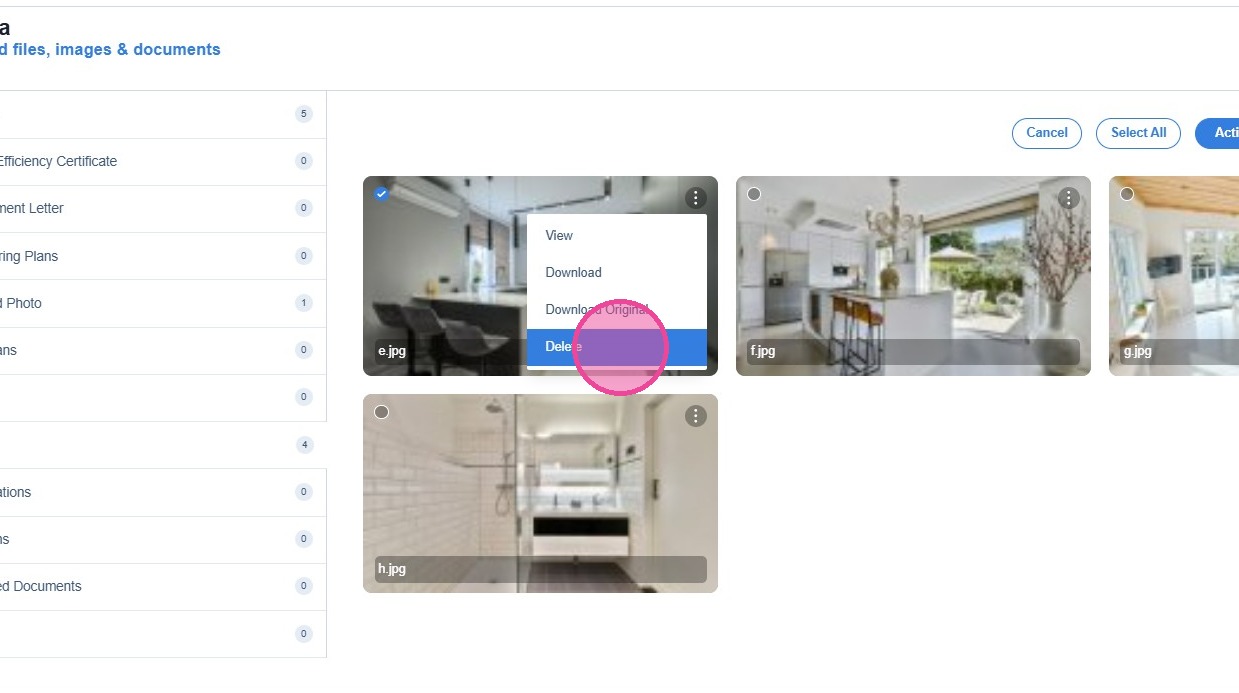
Access the respective category, for example "Photos", select the desired photo and for further actions please click on the three vertical dots.
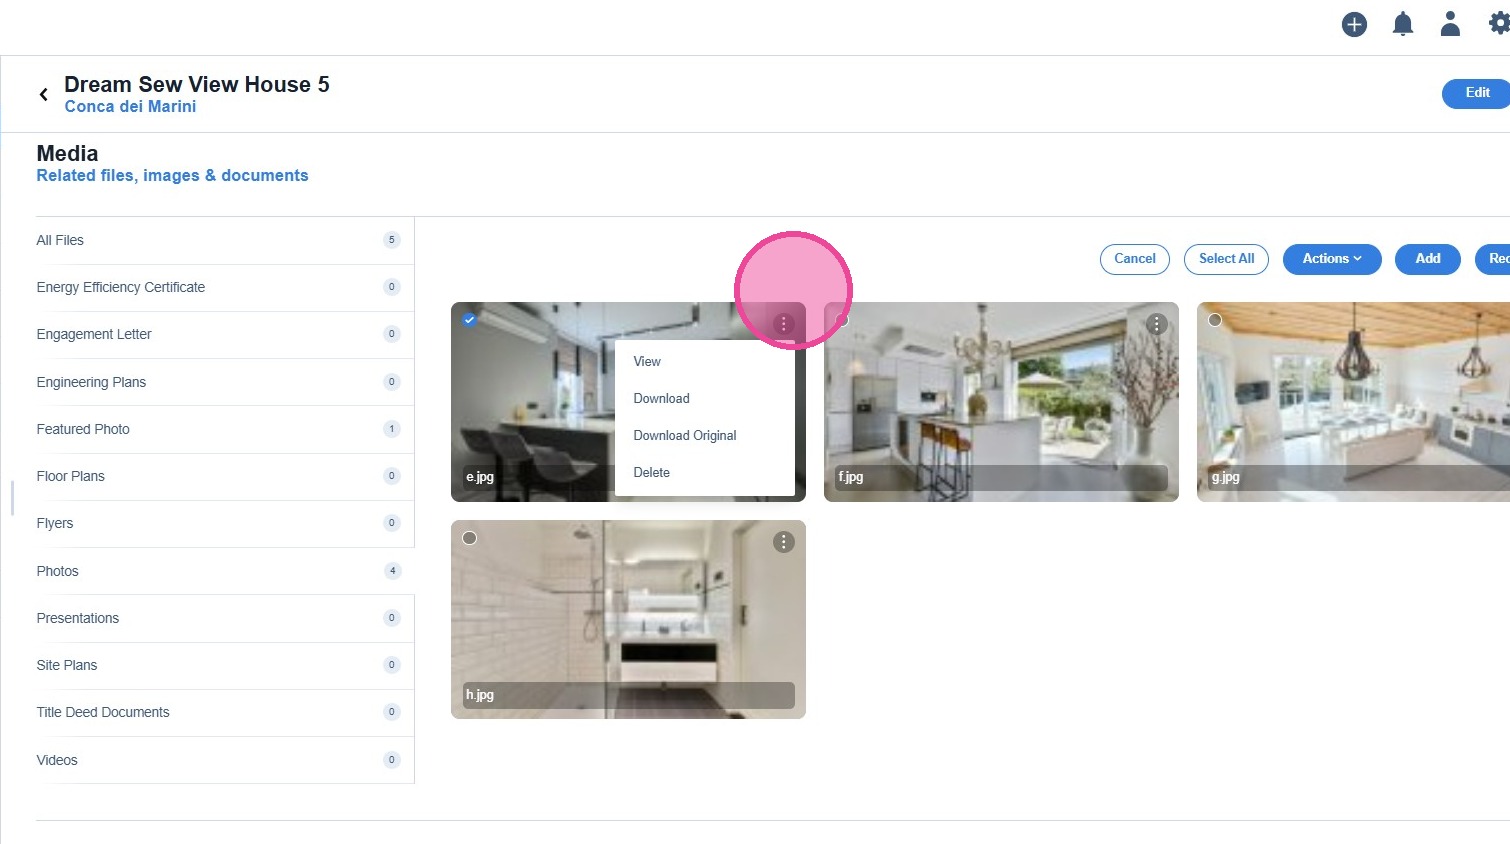
22
You can "View" the photo in a larger size, "Download" the photo, "Download Original" size of the photo, and "Delete".
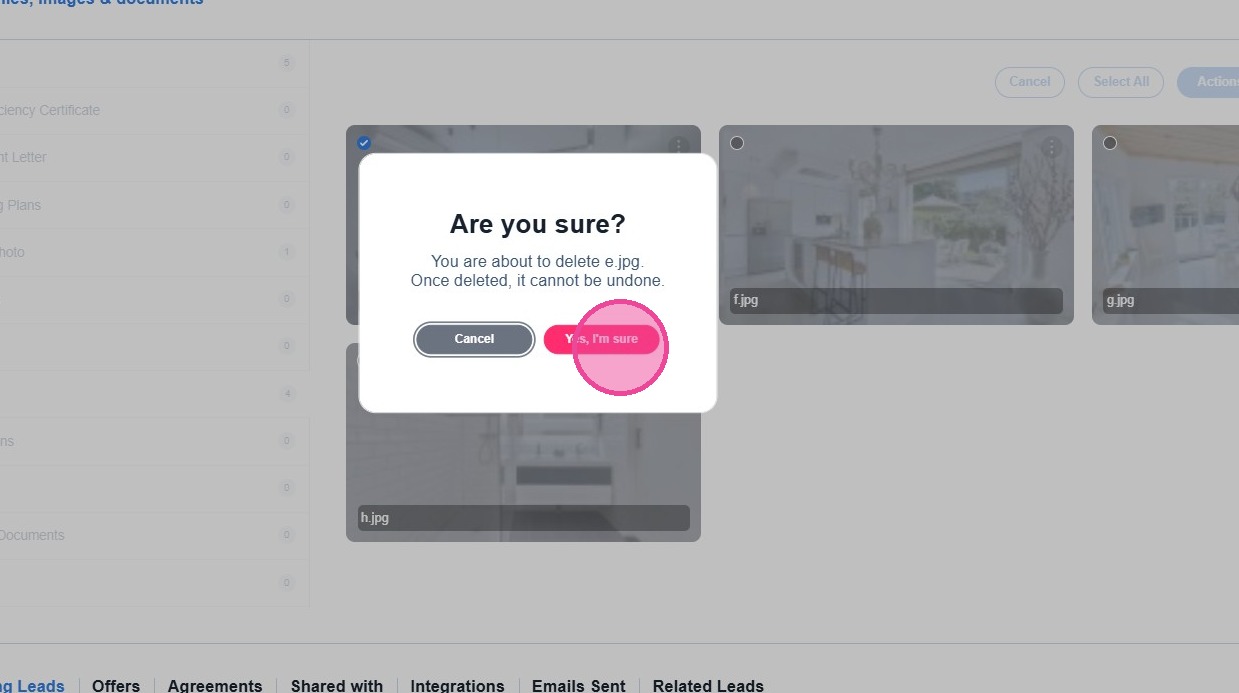
23
If you wish to proceed with the deletion of the photo, please confirm by clicking on "Yes, I'm sure".
24
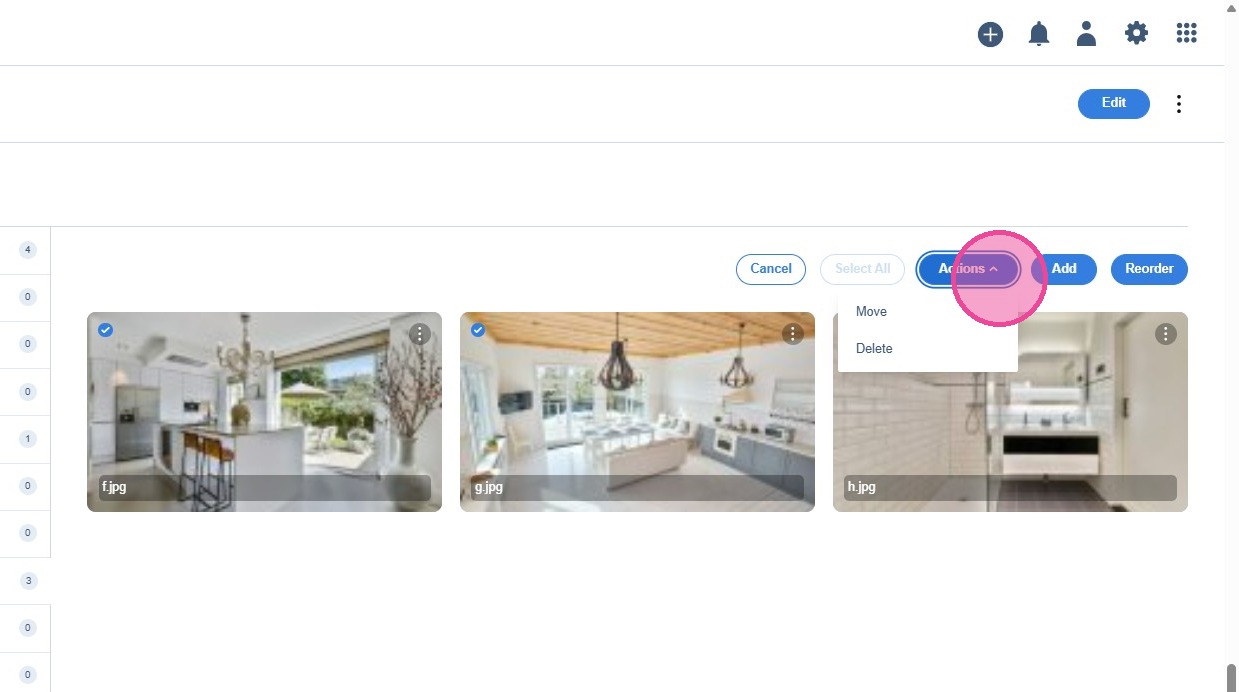
If you want to delete all photos, please click [Select All].
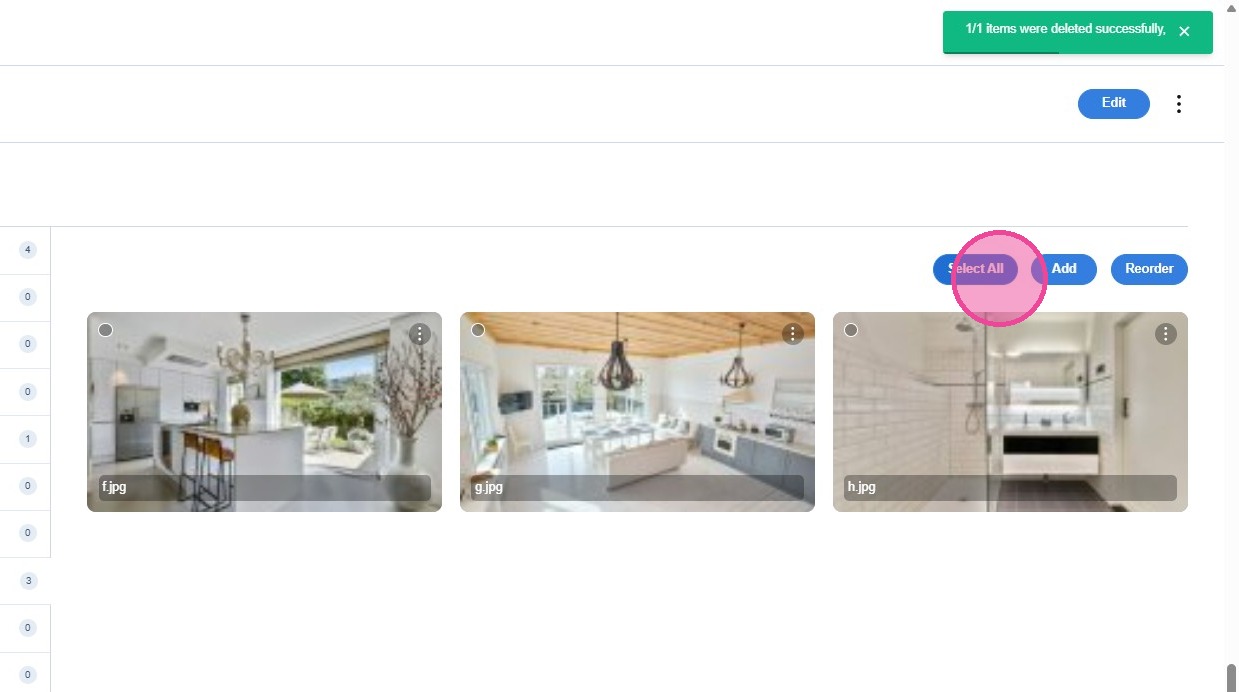
25
Click on [Actions] and select either to [Delete] or even [Move] to a different category.
26
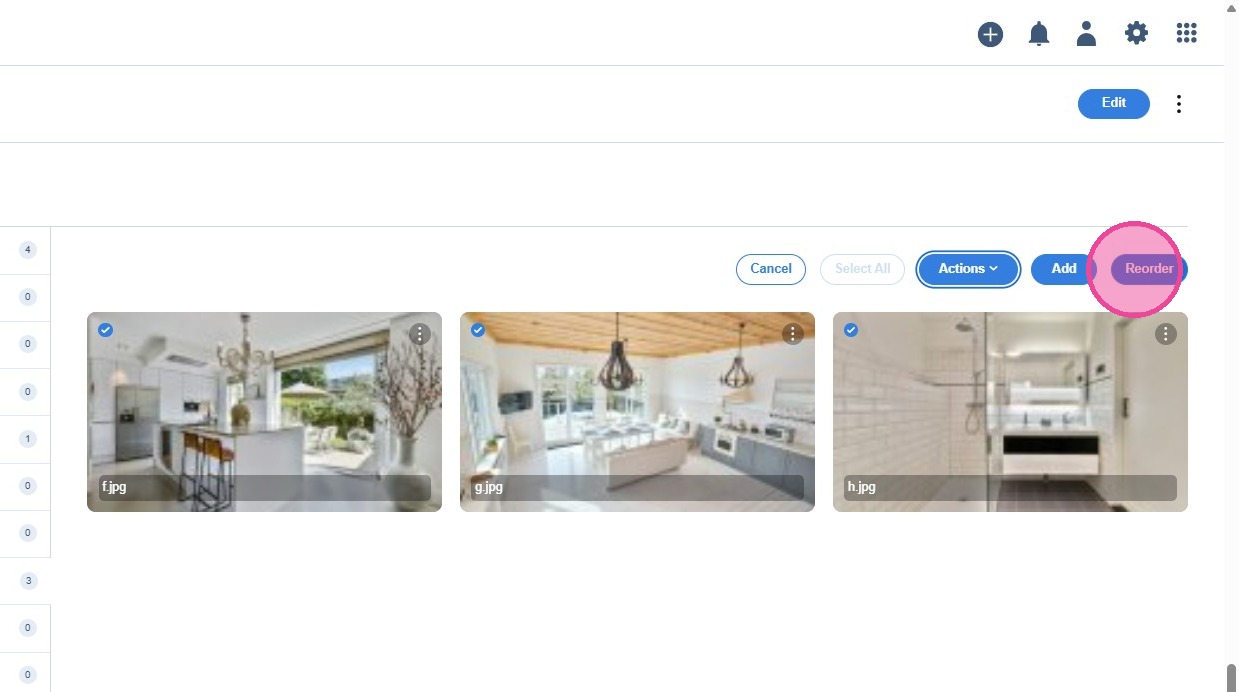
The CRM offers also the option to change the order of the photos by clicking on [Reorder].
27
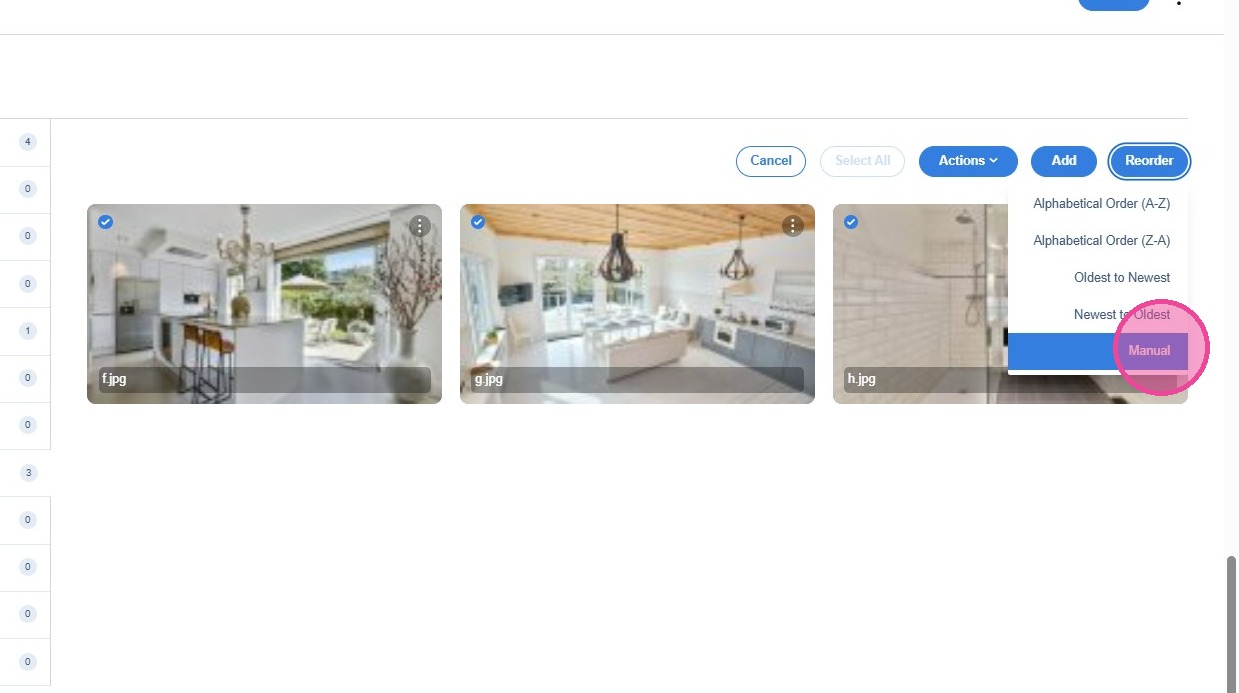
There are several automated options to reorder and there is also the "Manual" option.
28
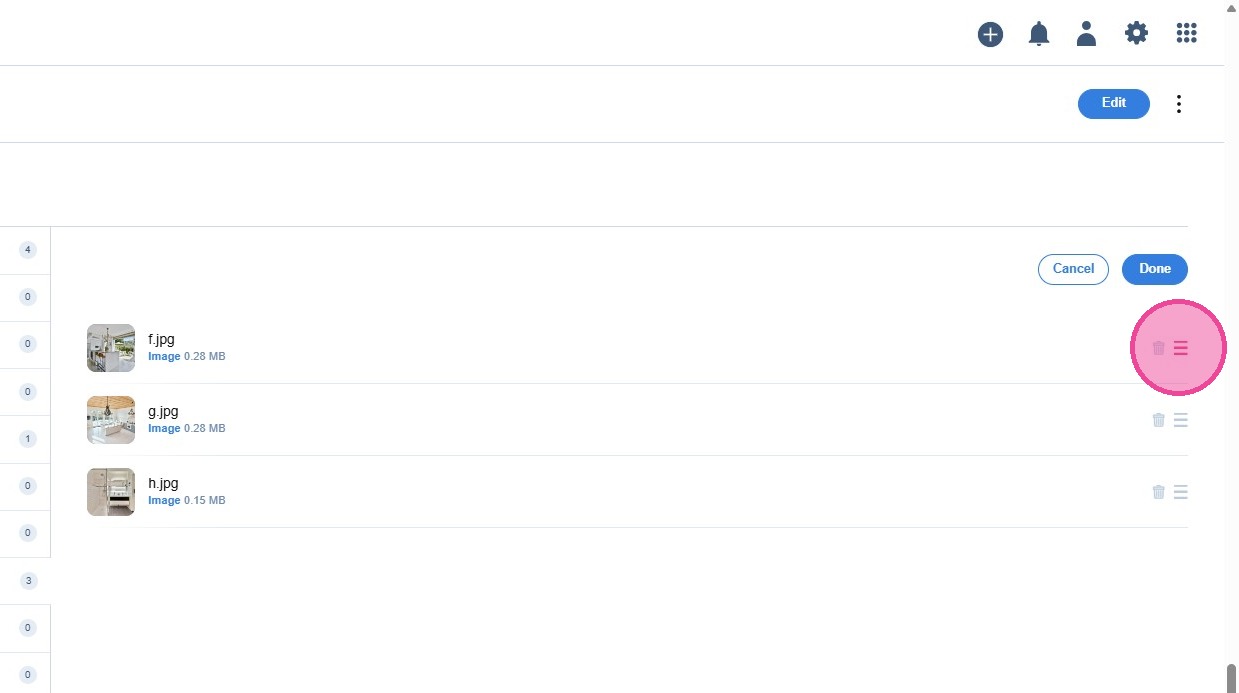
Click on the three vertical lines and drag and drop to desired order.
29
When you finish with the reordering of the photos, click [Done].