How to Add/Remove Filters and Columns
Customize your CRM workspace by adding or removing filters to refine your search results. Each module includes default fields that can be used as filters, and you can add any additional module-related filters you need. Switch between Grid, Map, and Table views, customize visible columns, and export your filtered data with ease.
1
Please navigate to your CRM URL
2
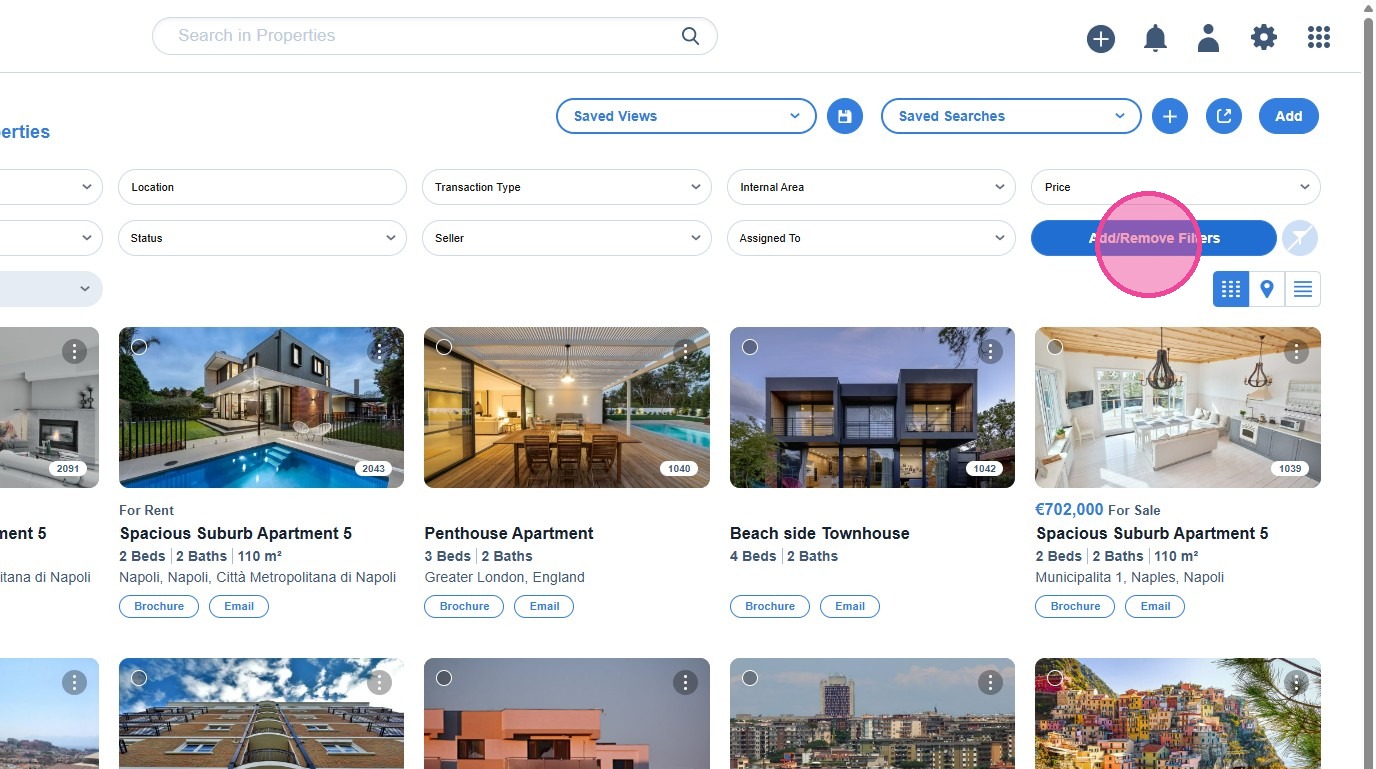
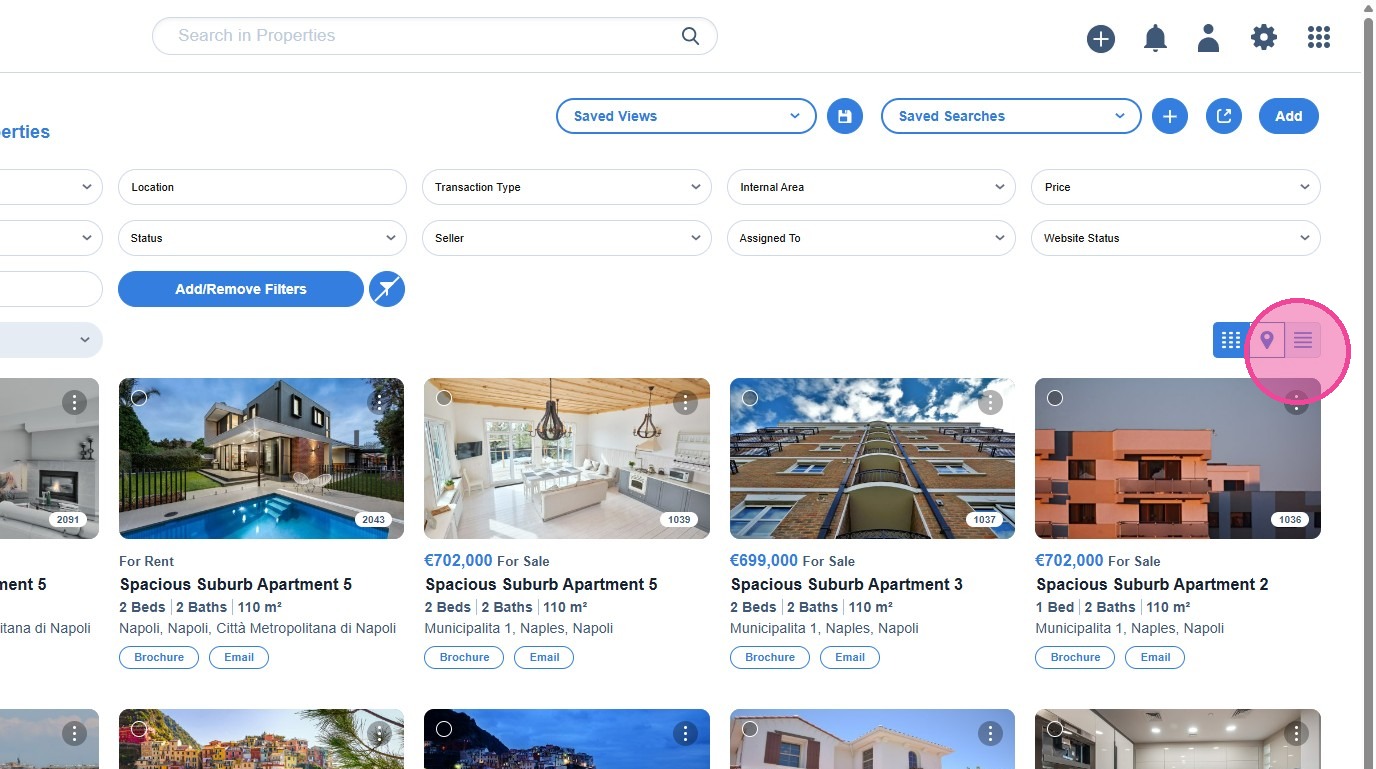
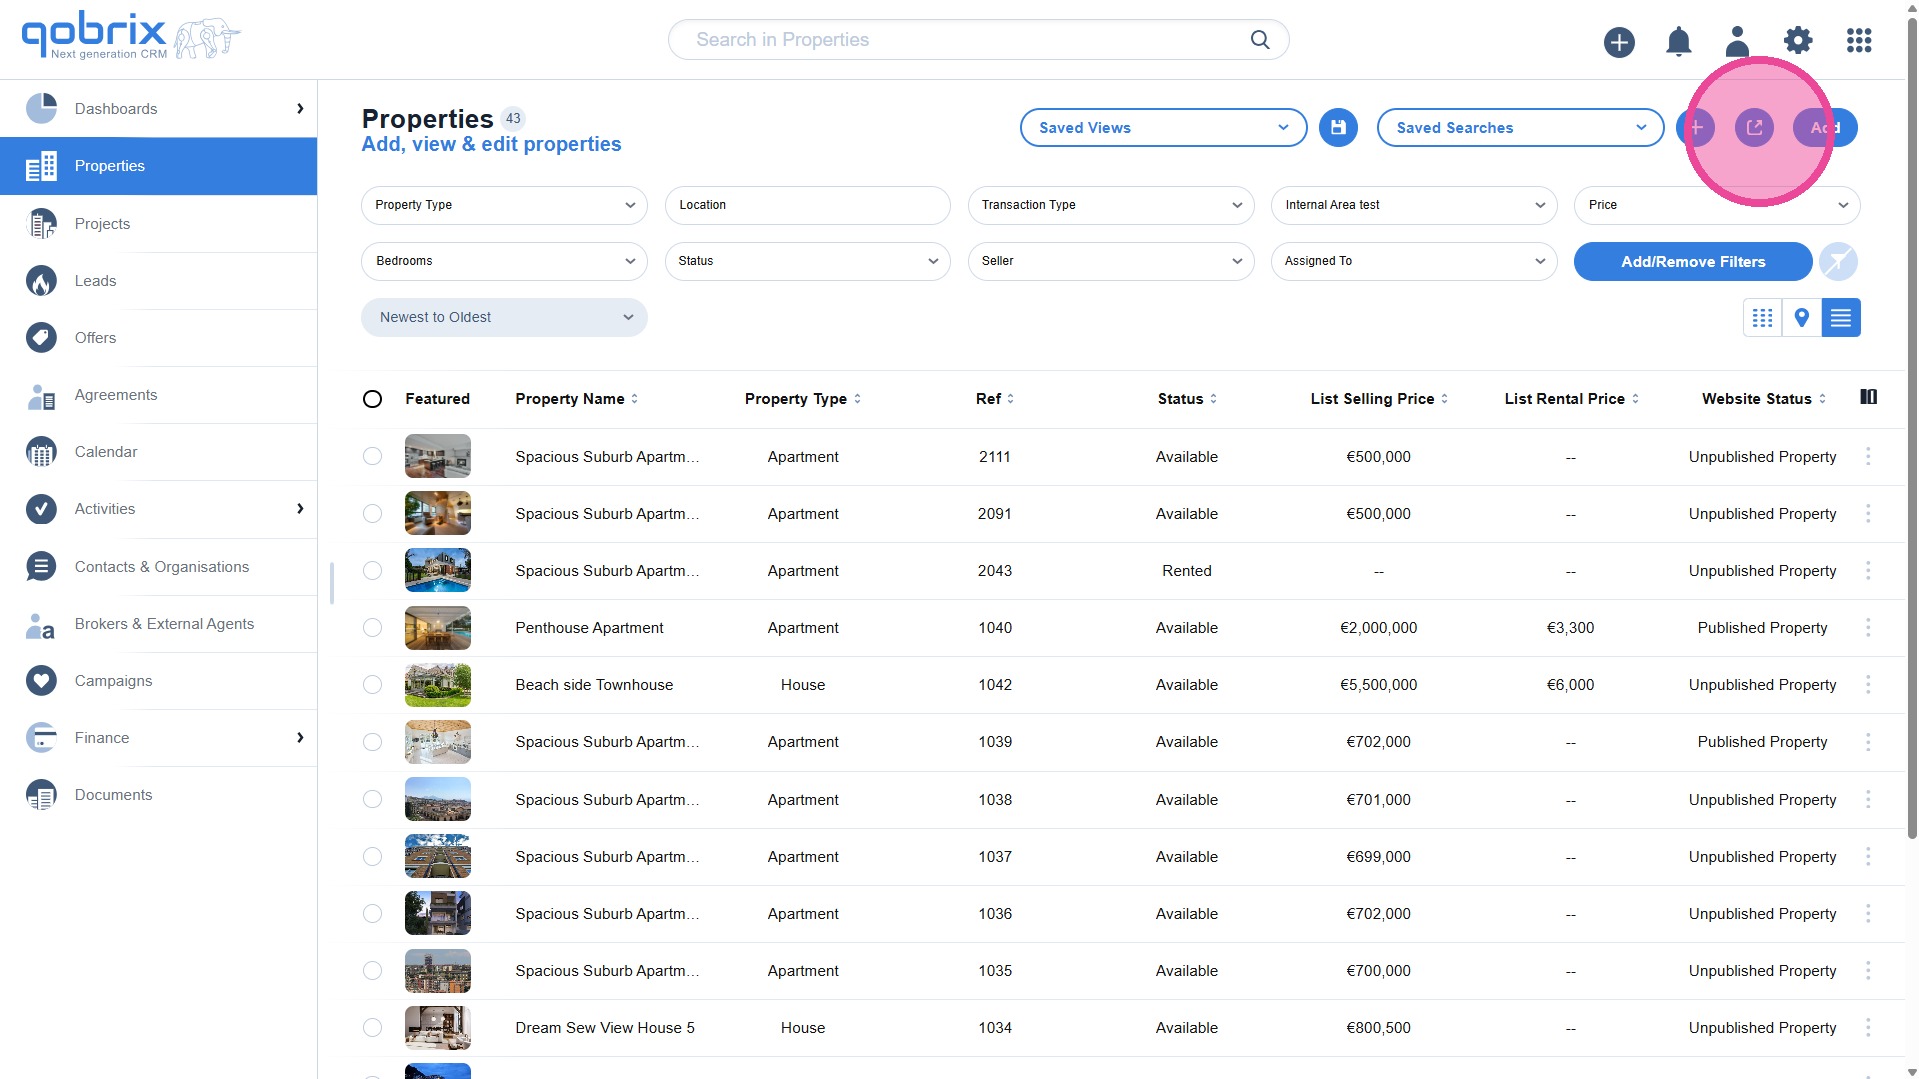
Firstly, please add the respective filters by clicking on [Add/Remove Filters].
3
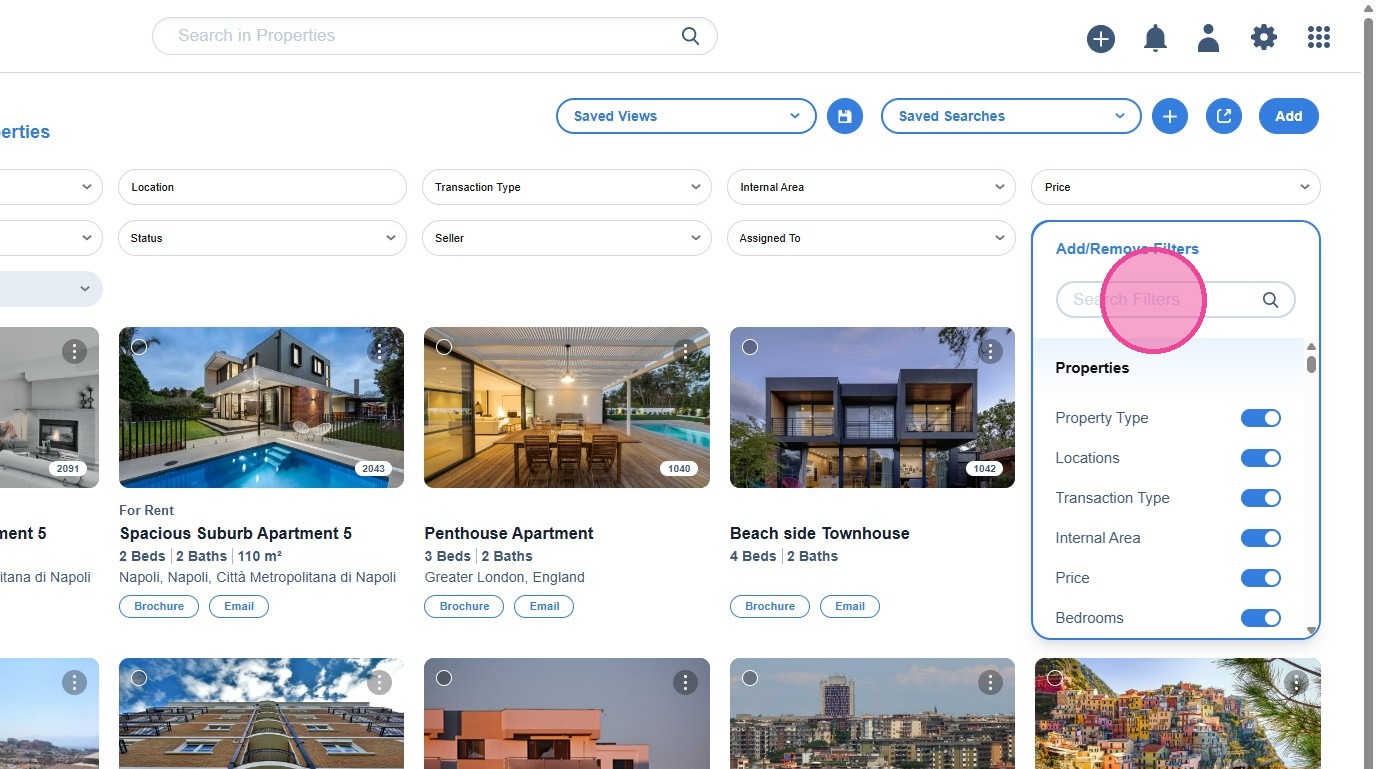
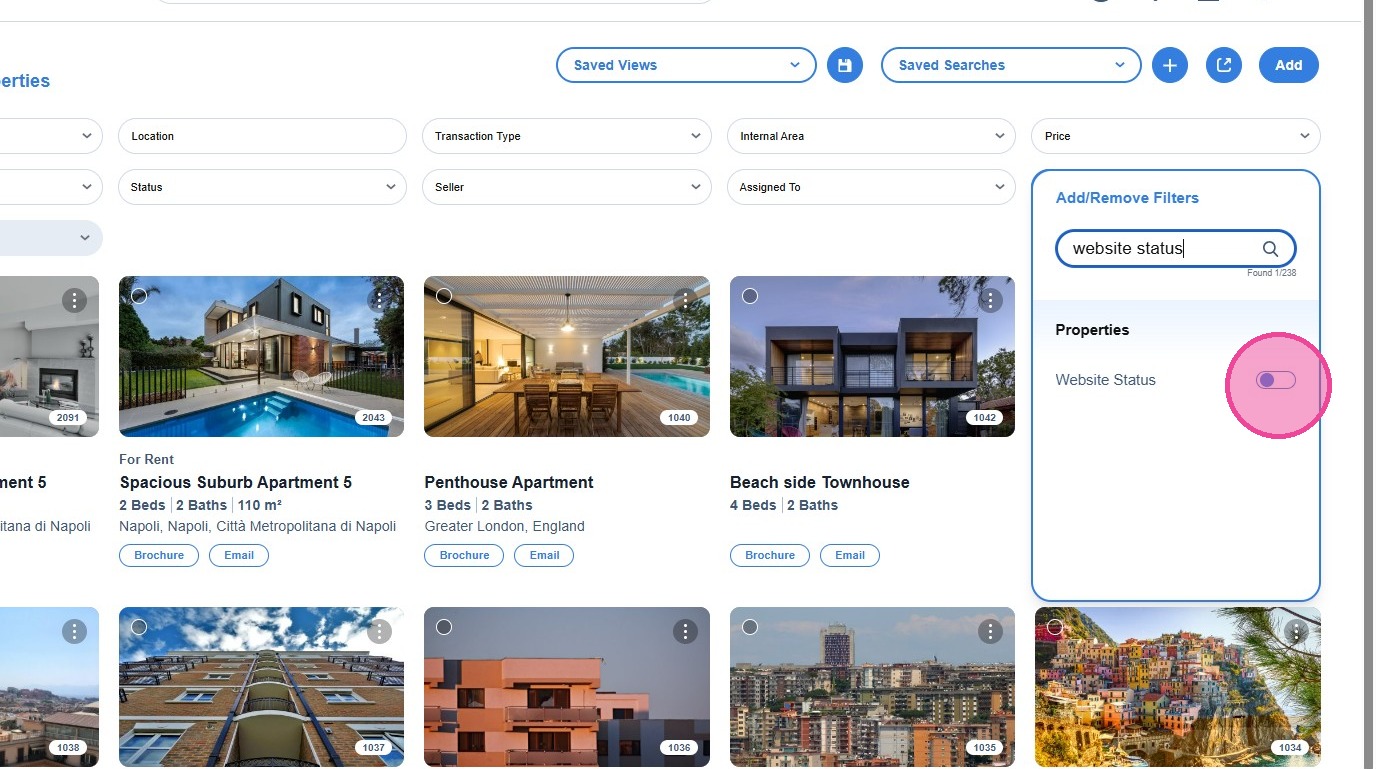
Type to search for the respective field.
4
Enable/disable the ones you are interested in.
5
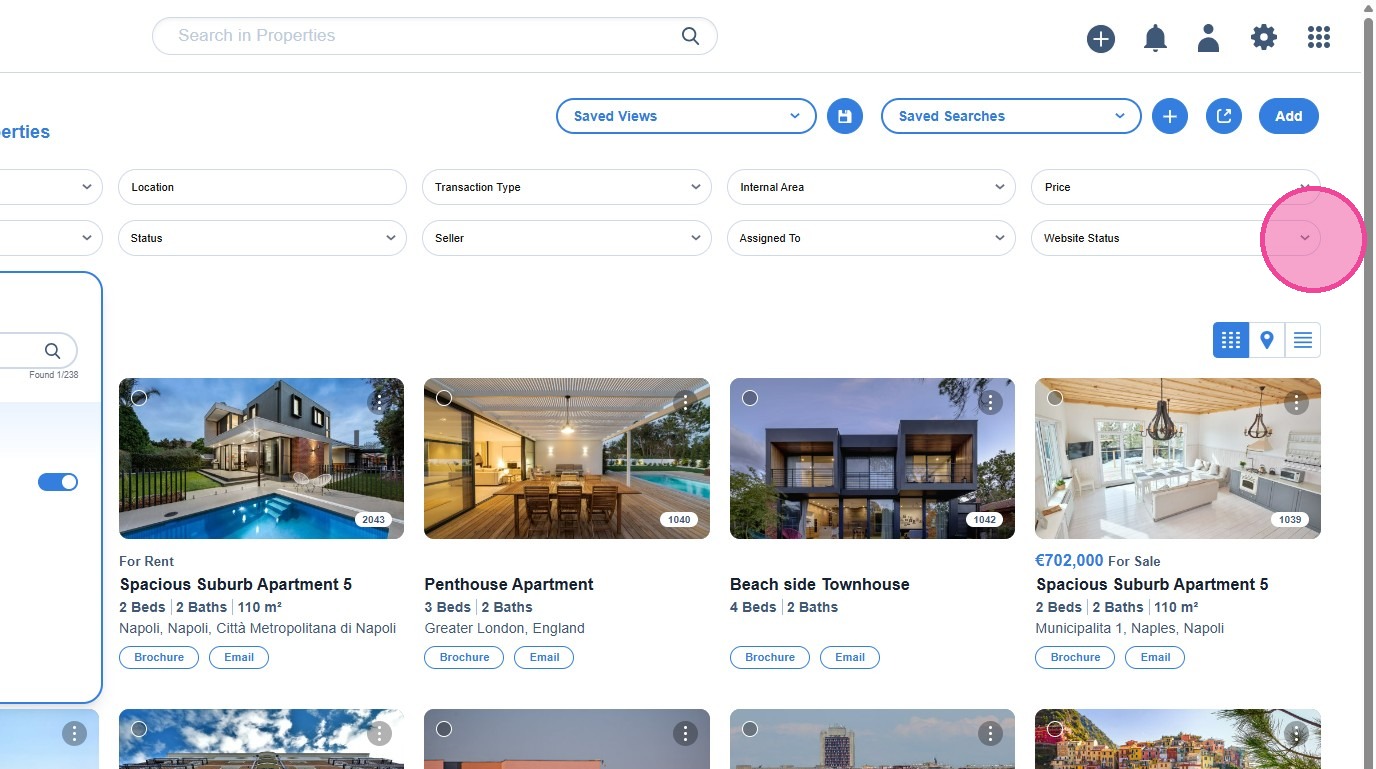
6
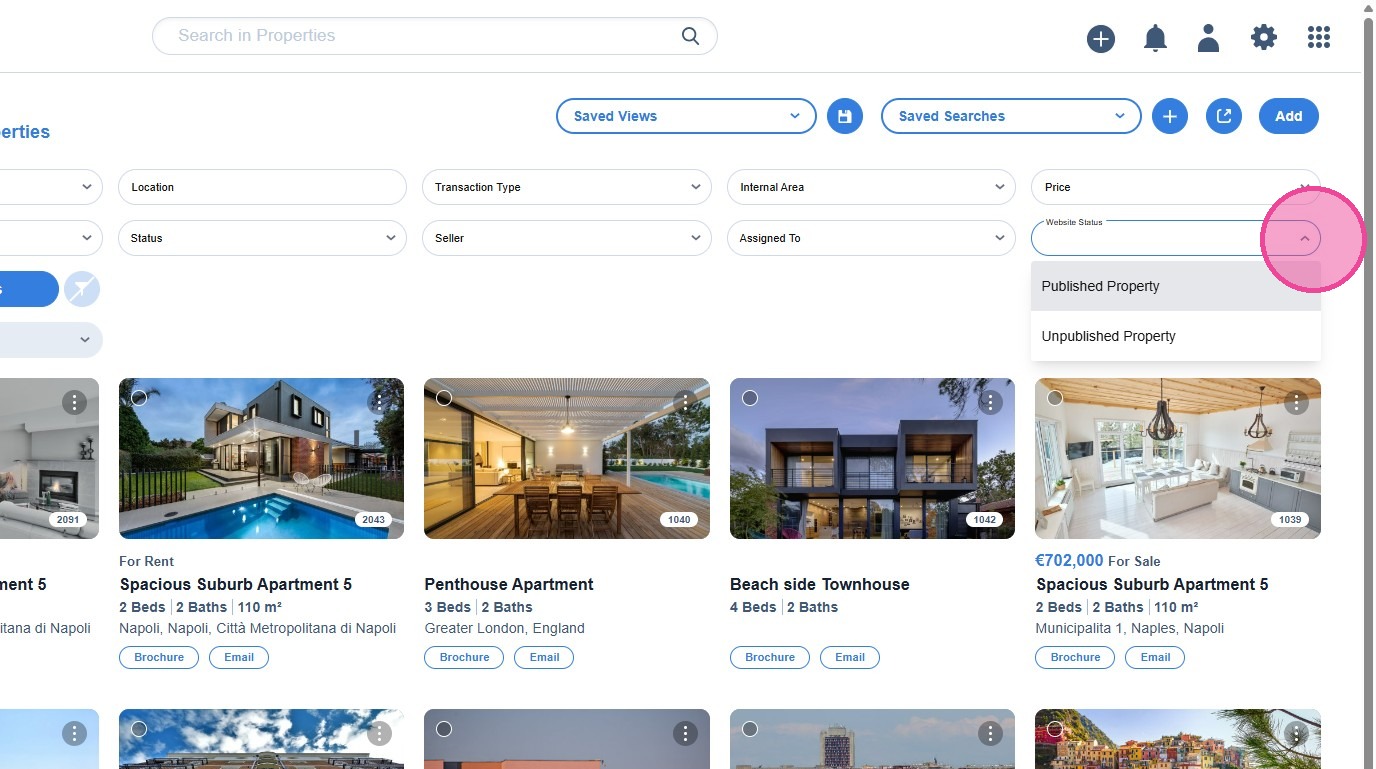
7
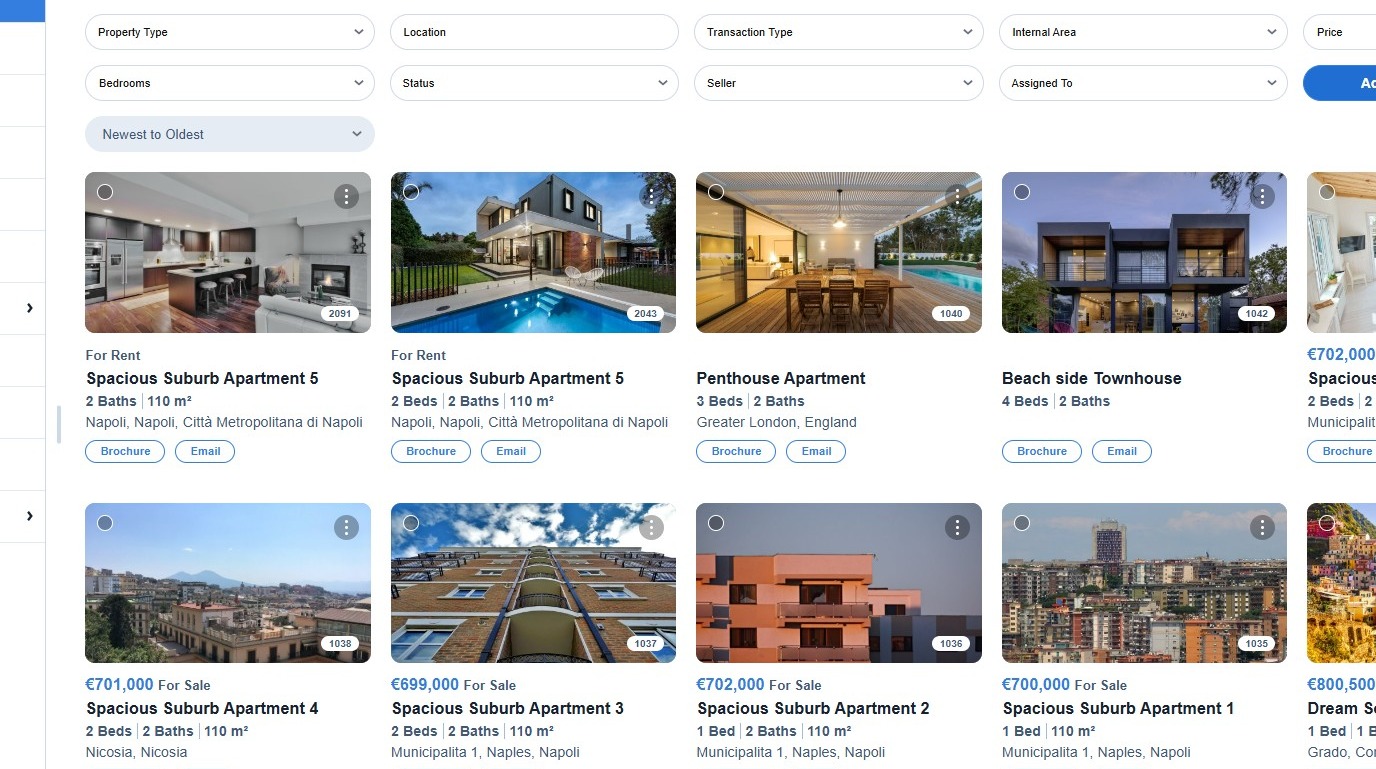
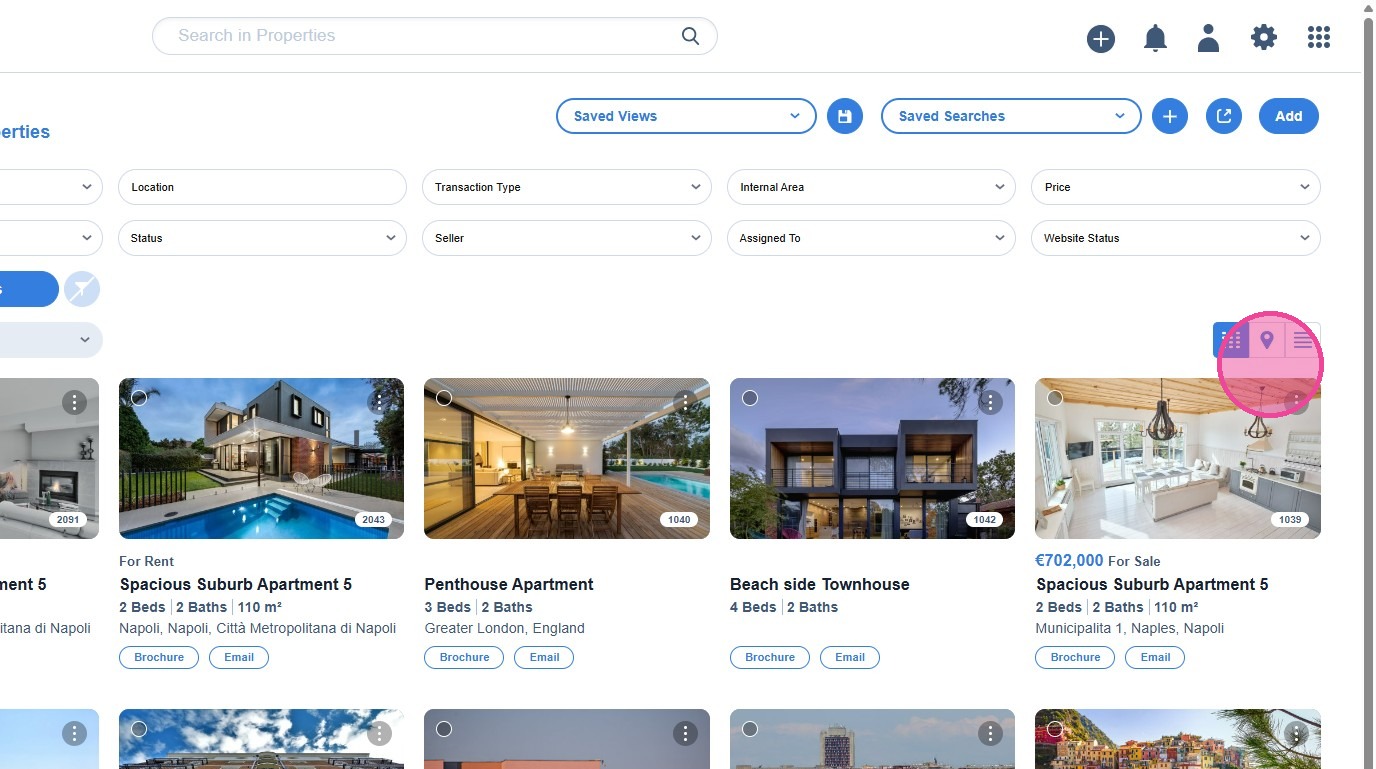
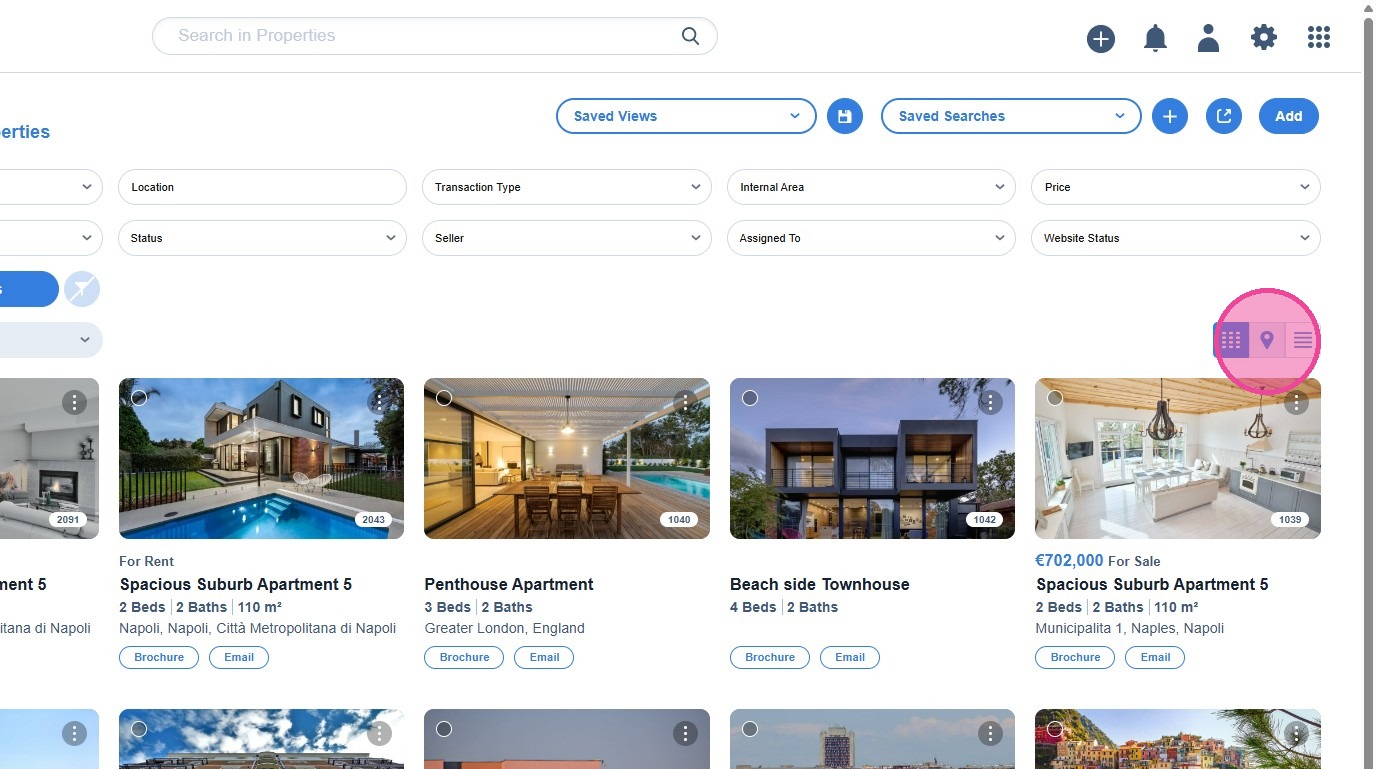
Have in mind that, in Properties module you can also change the way you see the properties. There are three different property views:
- Grid View
- Map View
- Table View
8
Grid View

9
Map View
10
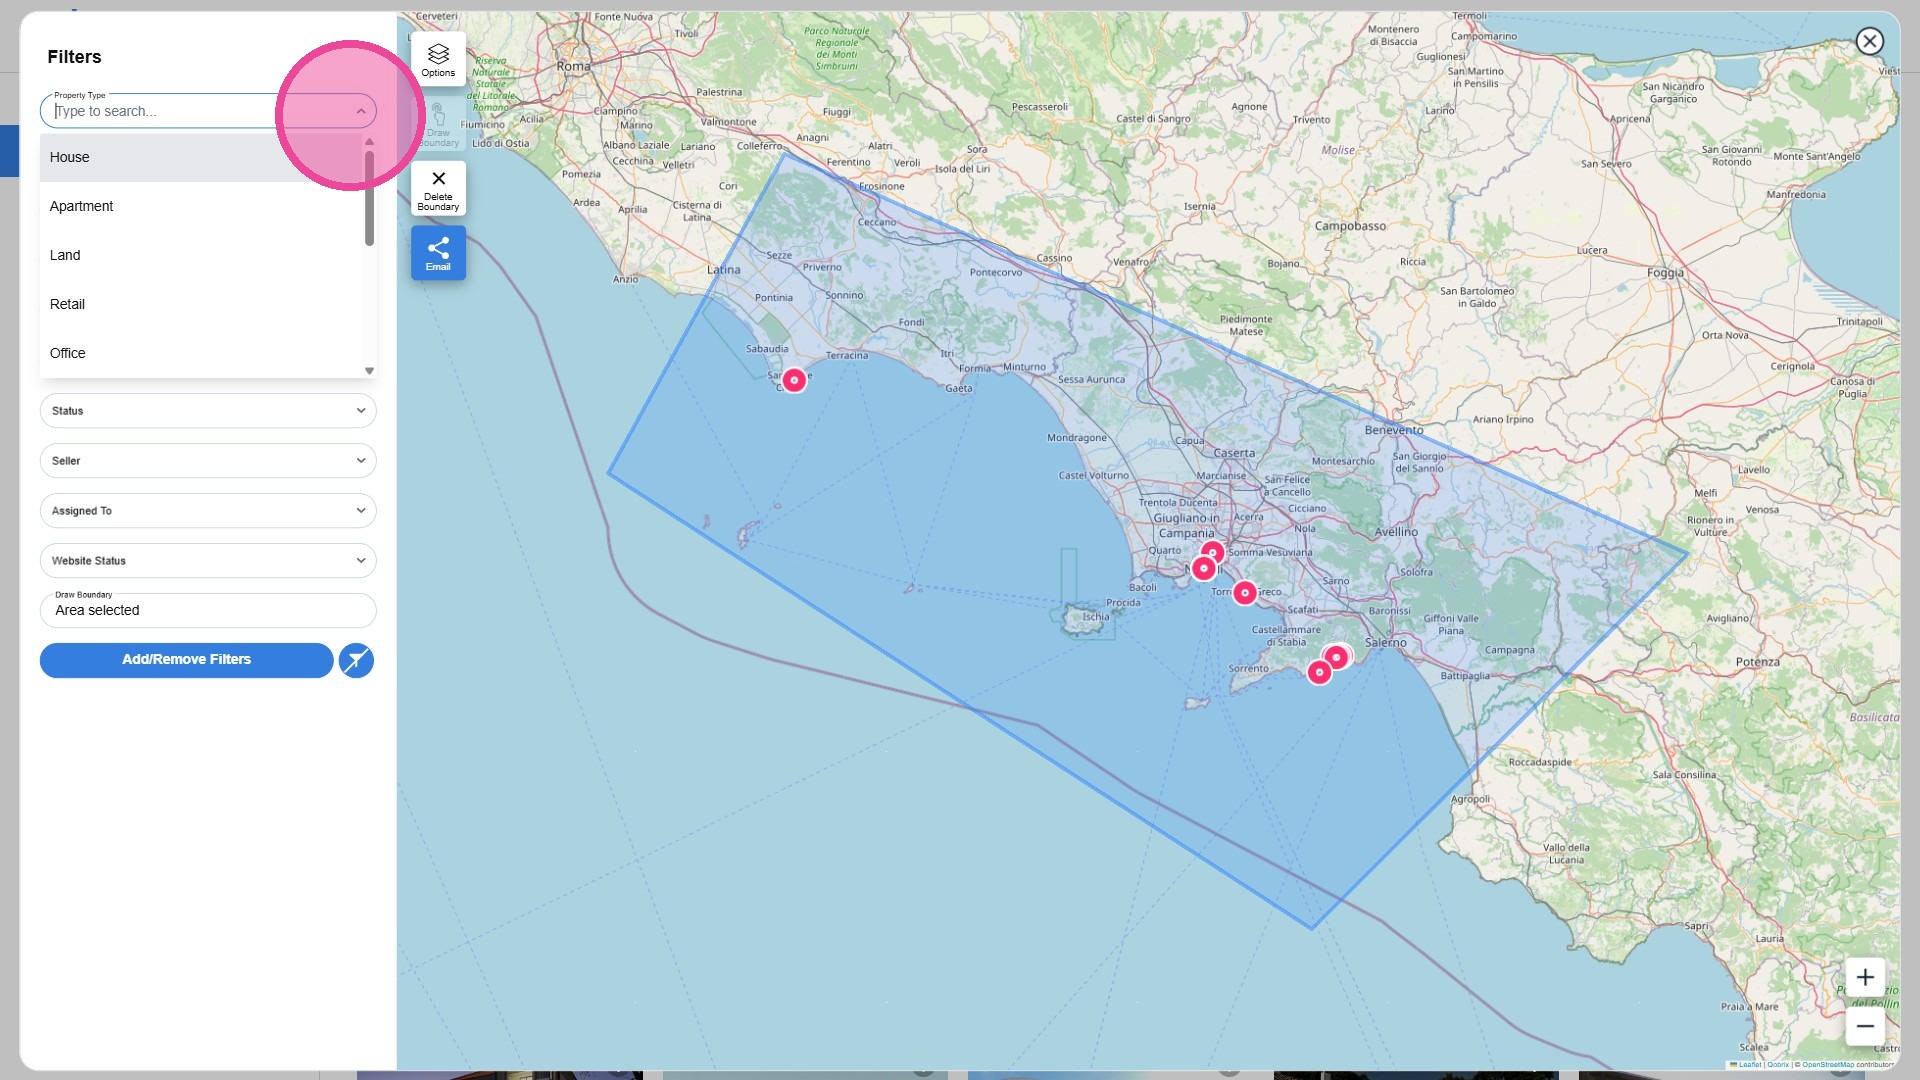
Map View: Draw boundaries to search
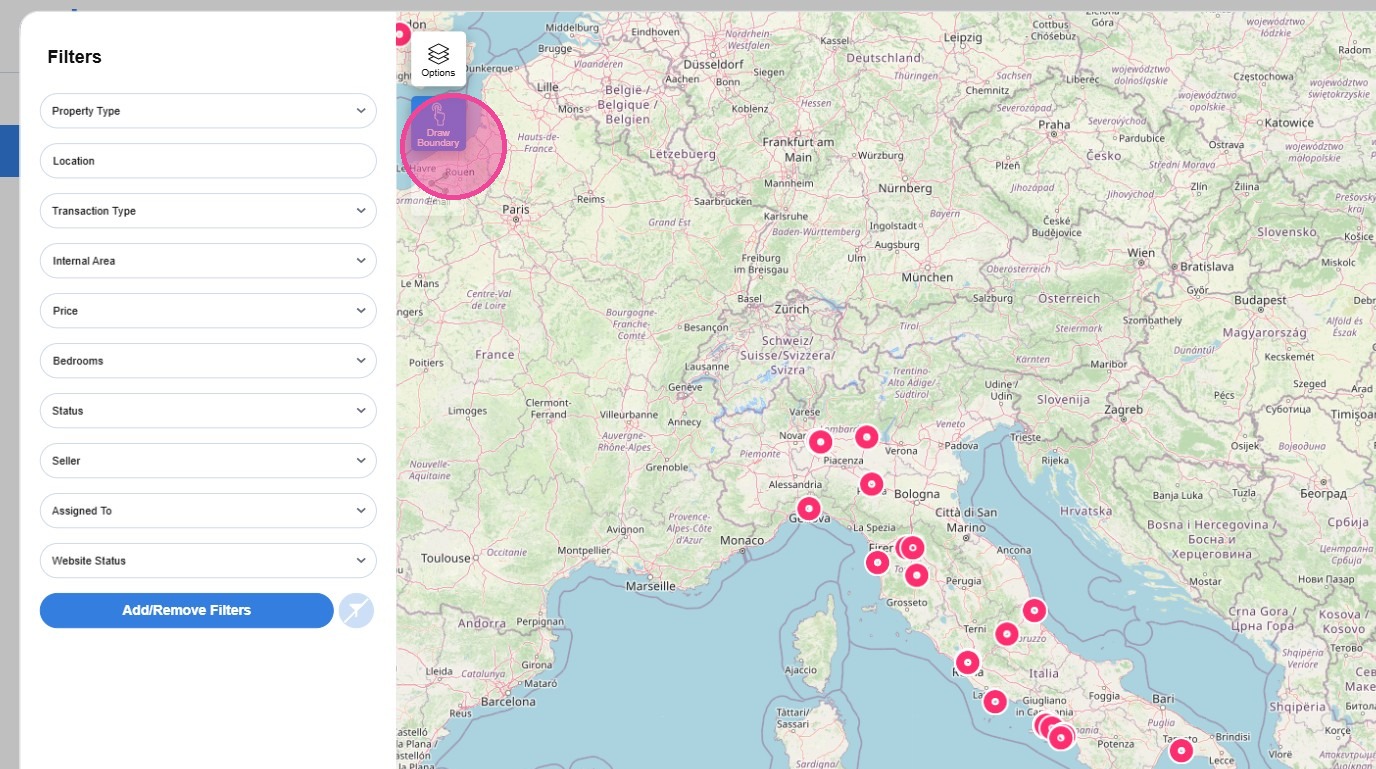
11
Click here.
12
Table View
13
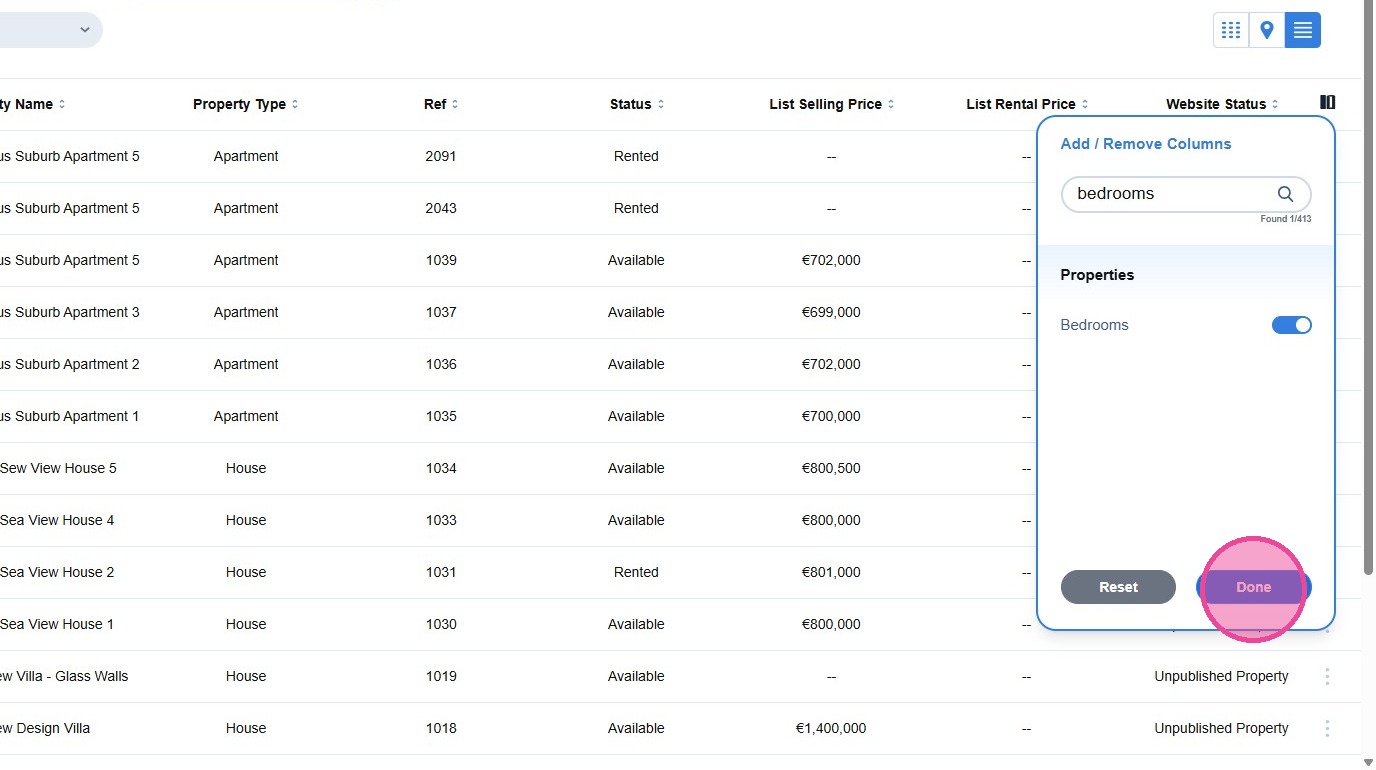
If you switch to Table View, you can also add/remove columns and rearrange them the way you prefer.
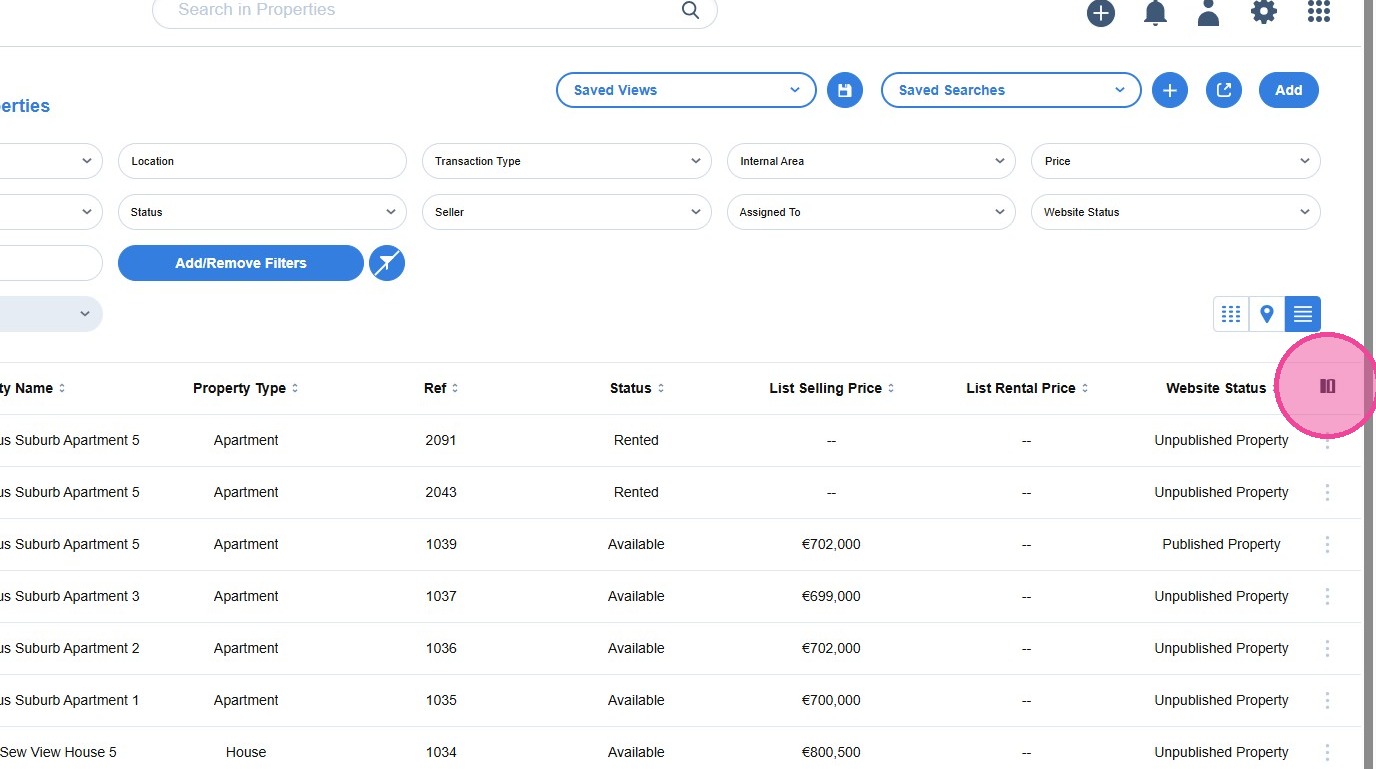
14
15
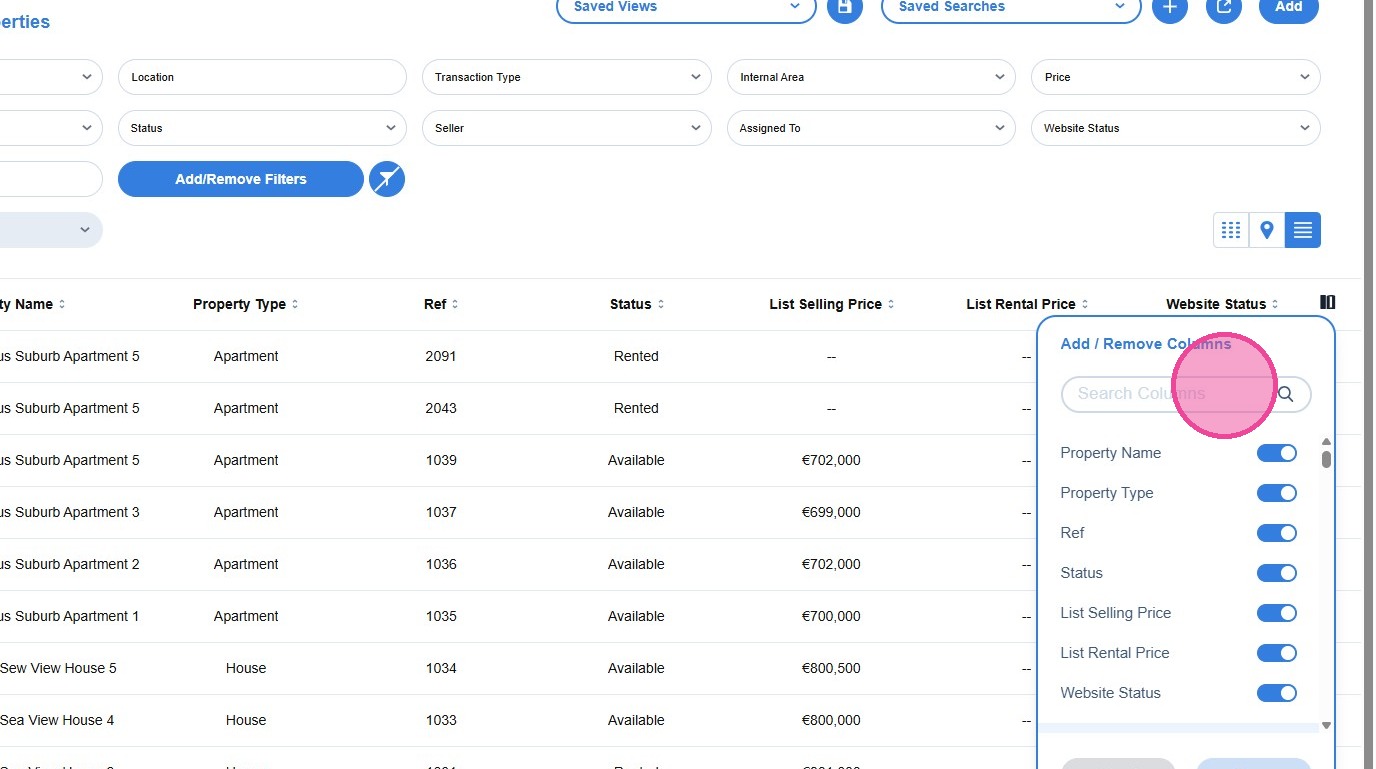
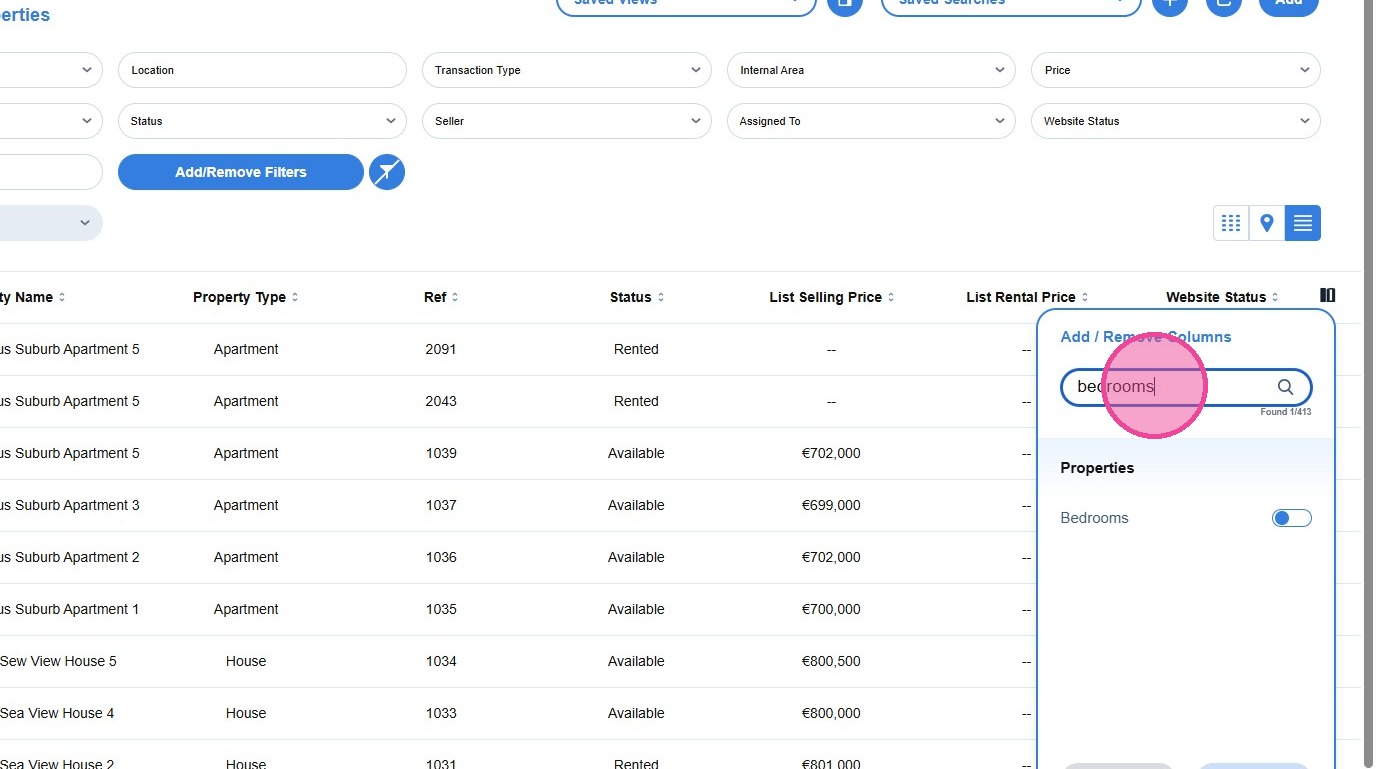
Type to search the respective field.
16
Modify your table view by enabling/disabling the respective fields.
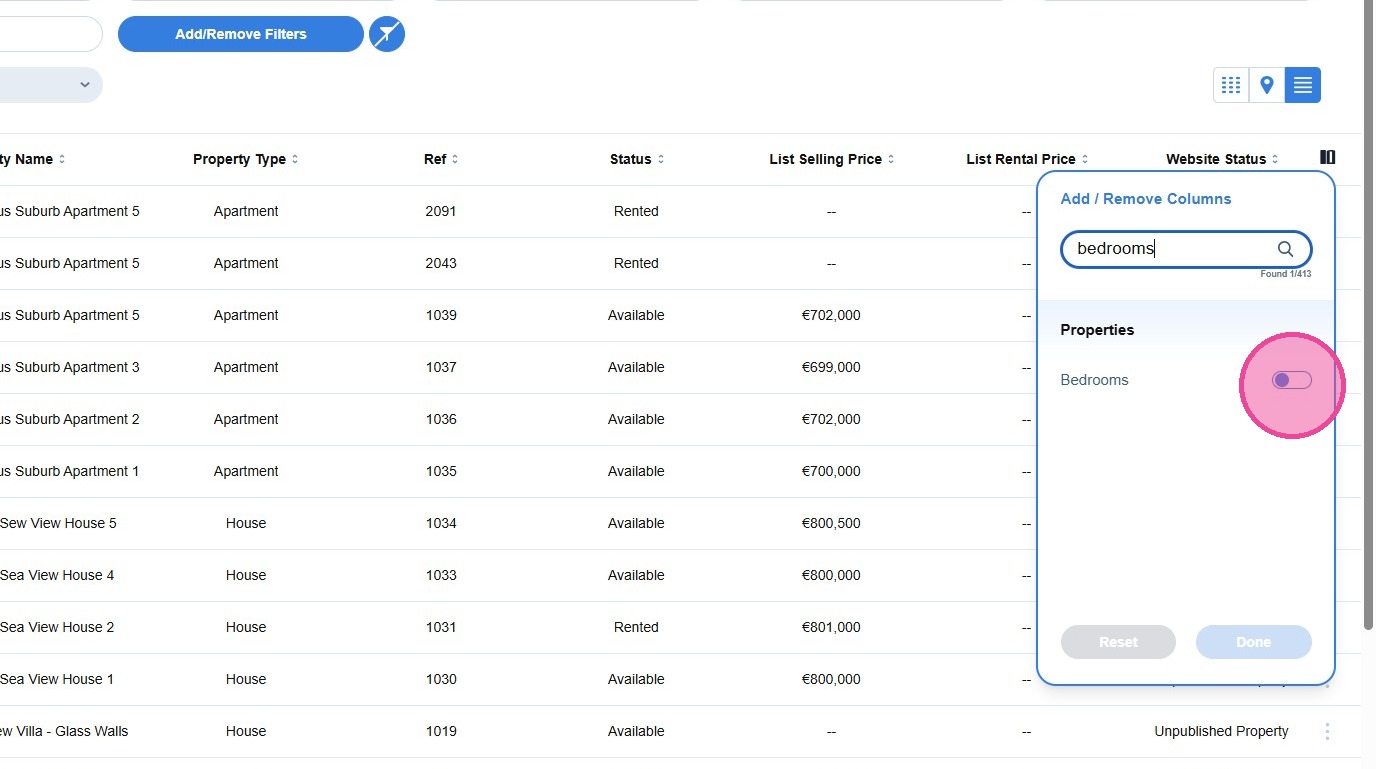
17
When you finish, click [Done].
18
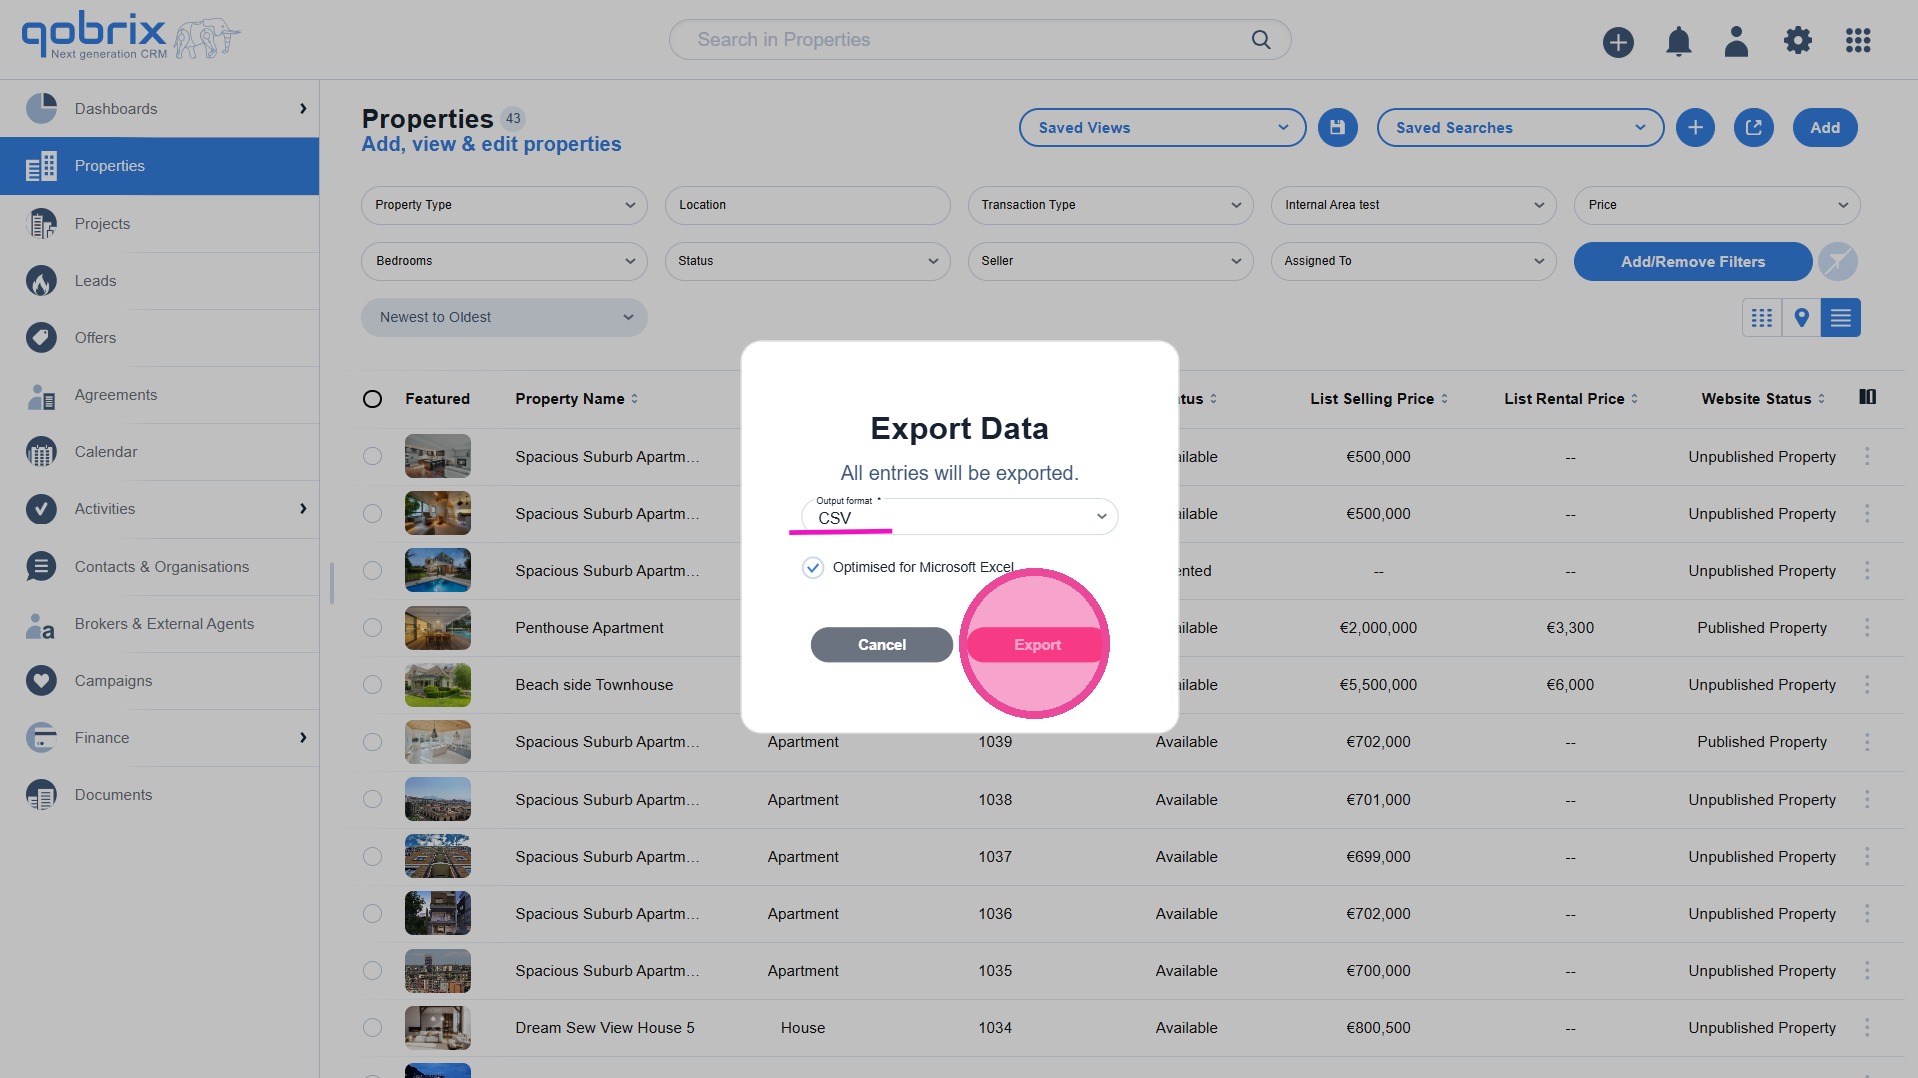
After implementing all filters and columns, please click to [Export].
19
CSV format is selected by default. Please click [Export].