How to Add/Remove Filters and Columns
Each module includes by default some fields which can be used as filters. Besides the default one you can add any other module related filter you want.
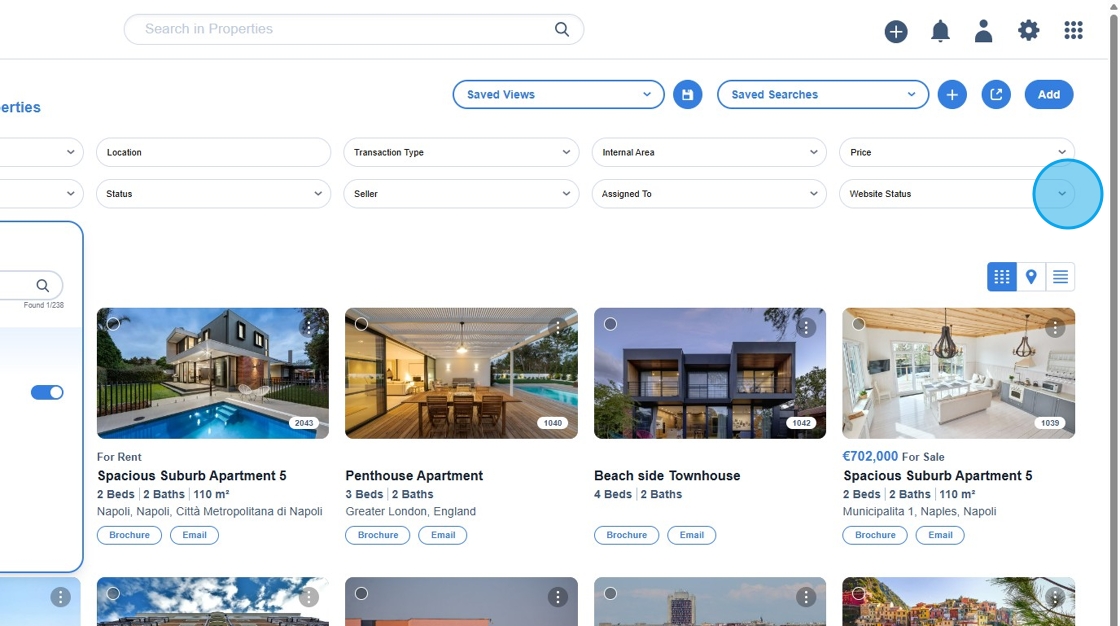
1. Please navigate to your CRM URL

2. Firstly, please add the respective filters by clicking on [Add/Remove Filters].

3. Type to search for the respective field.

4. Enable/disable the ones you are interested in.

5. Continue with the next step.
6. Proceed to the next action.

7. Have in mind that, in Properties module you can also change the way you see the properties. There are three different property views:
• Grid View
• Map View
• Table View

8. Grid View

9. Map View

10. Map View: Draw boundaries to search

11. Click here.

12. Table View

13. If you switch to Table View, you can also add/remove columns and rearrange them the way you prefer.

14. Click on the column settings.

15. Type to search the respective field.

16. Modify your table view by enabling/disabling the respective fields.

17. When you finish, click [Done].

How to Add/Remove Filters and Columns
Each module includes by default some fields which can be used as filters. Besides the default one you can add any other module related filter you want.
1. Please navigate to your CRM URL
2. Firstly, please add the respective filters by clicking on [Add/Remove Filters].
3. Type to search for the respective field.
4. Enable/disable the ones you are interested in.
5. Continue with the next step.
6. Proceed to the next action.
7. Have in mind that, in Properties module you can also change the way you see the properties. There are three different property views:
• Grid View
• Map View
• Table View
8. Grid View
9. Map View
10. Map View: Draw boundaries to search
11. Click here.
12. Table View
13. If you switch to Table View, you can also add/remove columns and rearrange them the way you prefer.
14. Click on the column settings.
15. Type to search the respective field.
16. Modify your table view by enabling/disabling the respective fields.
17. When you finish, click [Done].